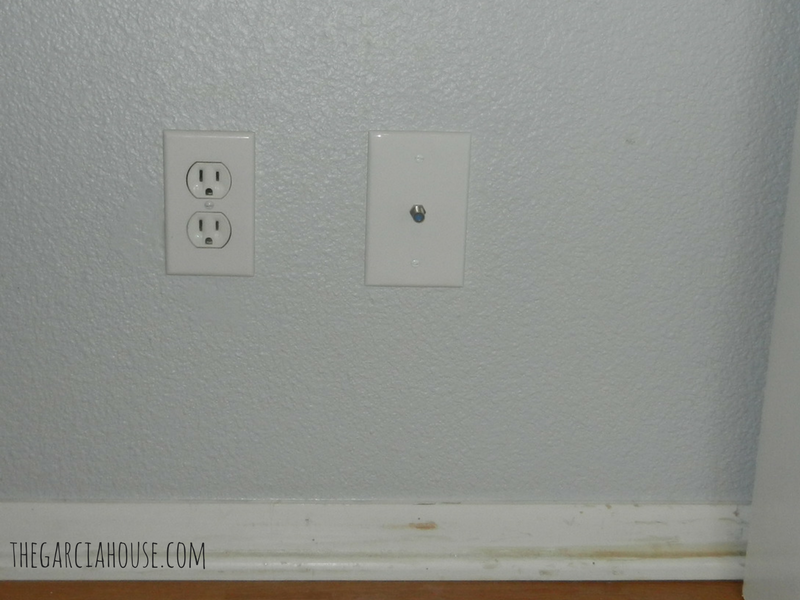
In older homes, you may find that cable lines were installed without boxes or wall plates like this:
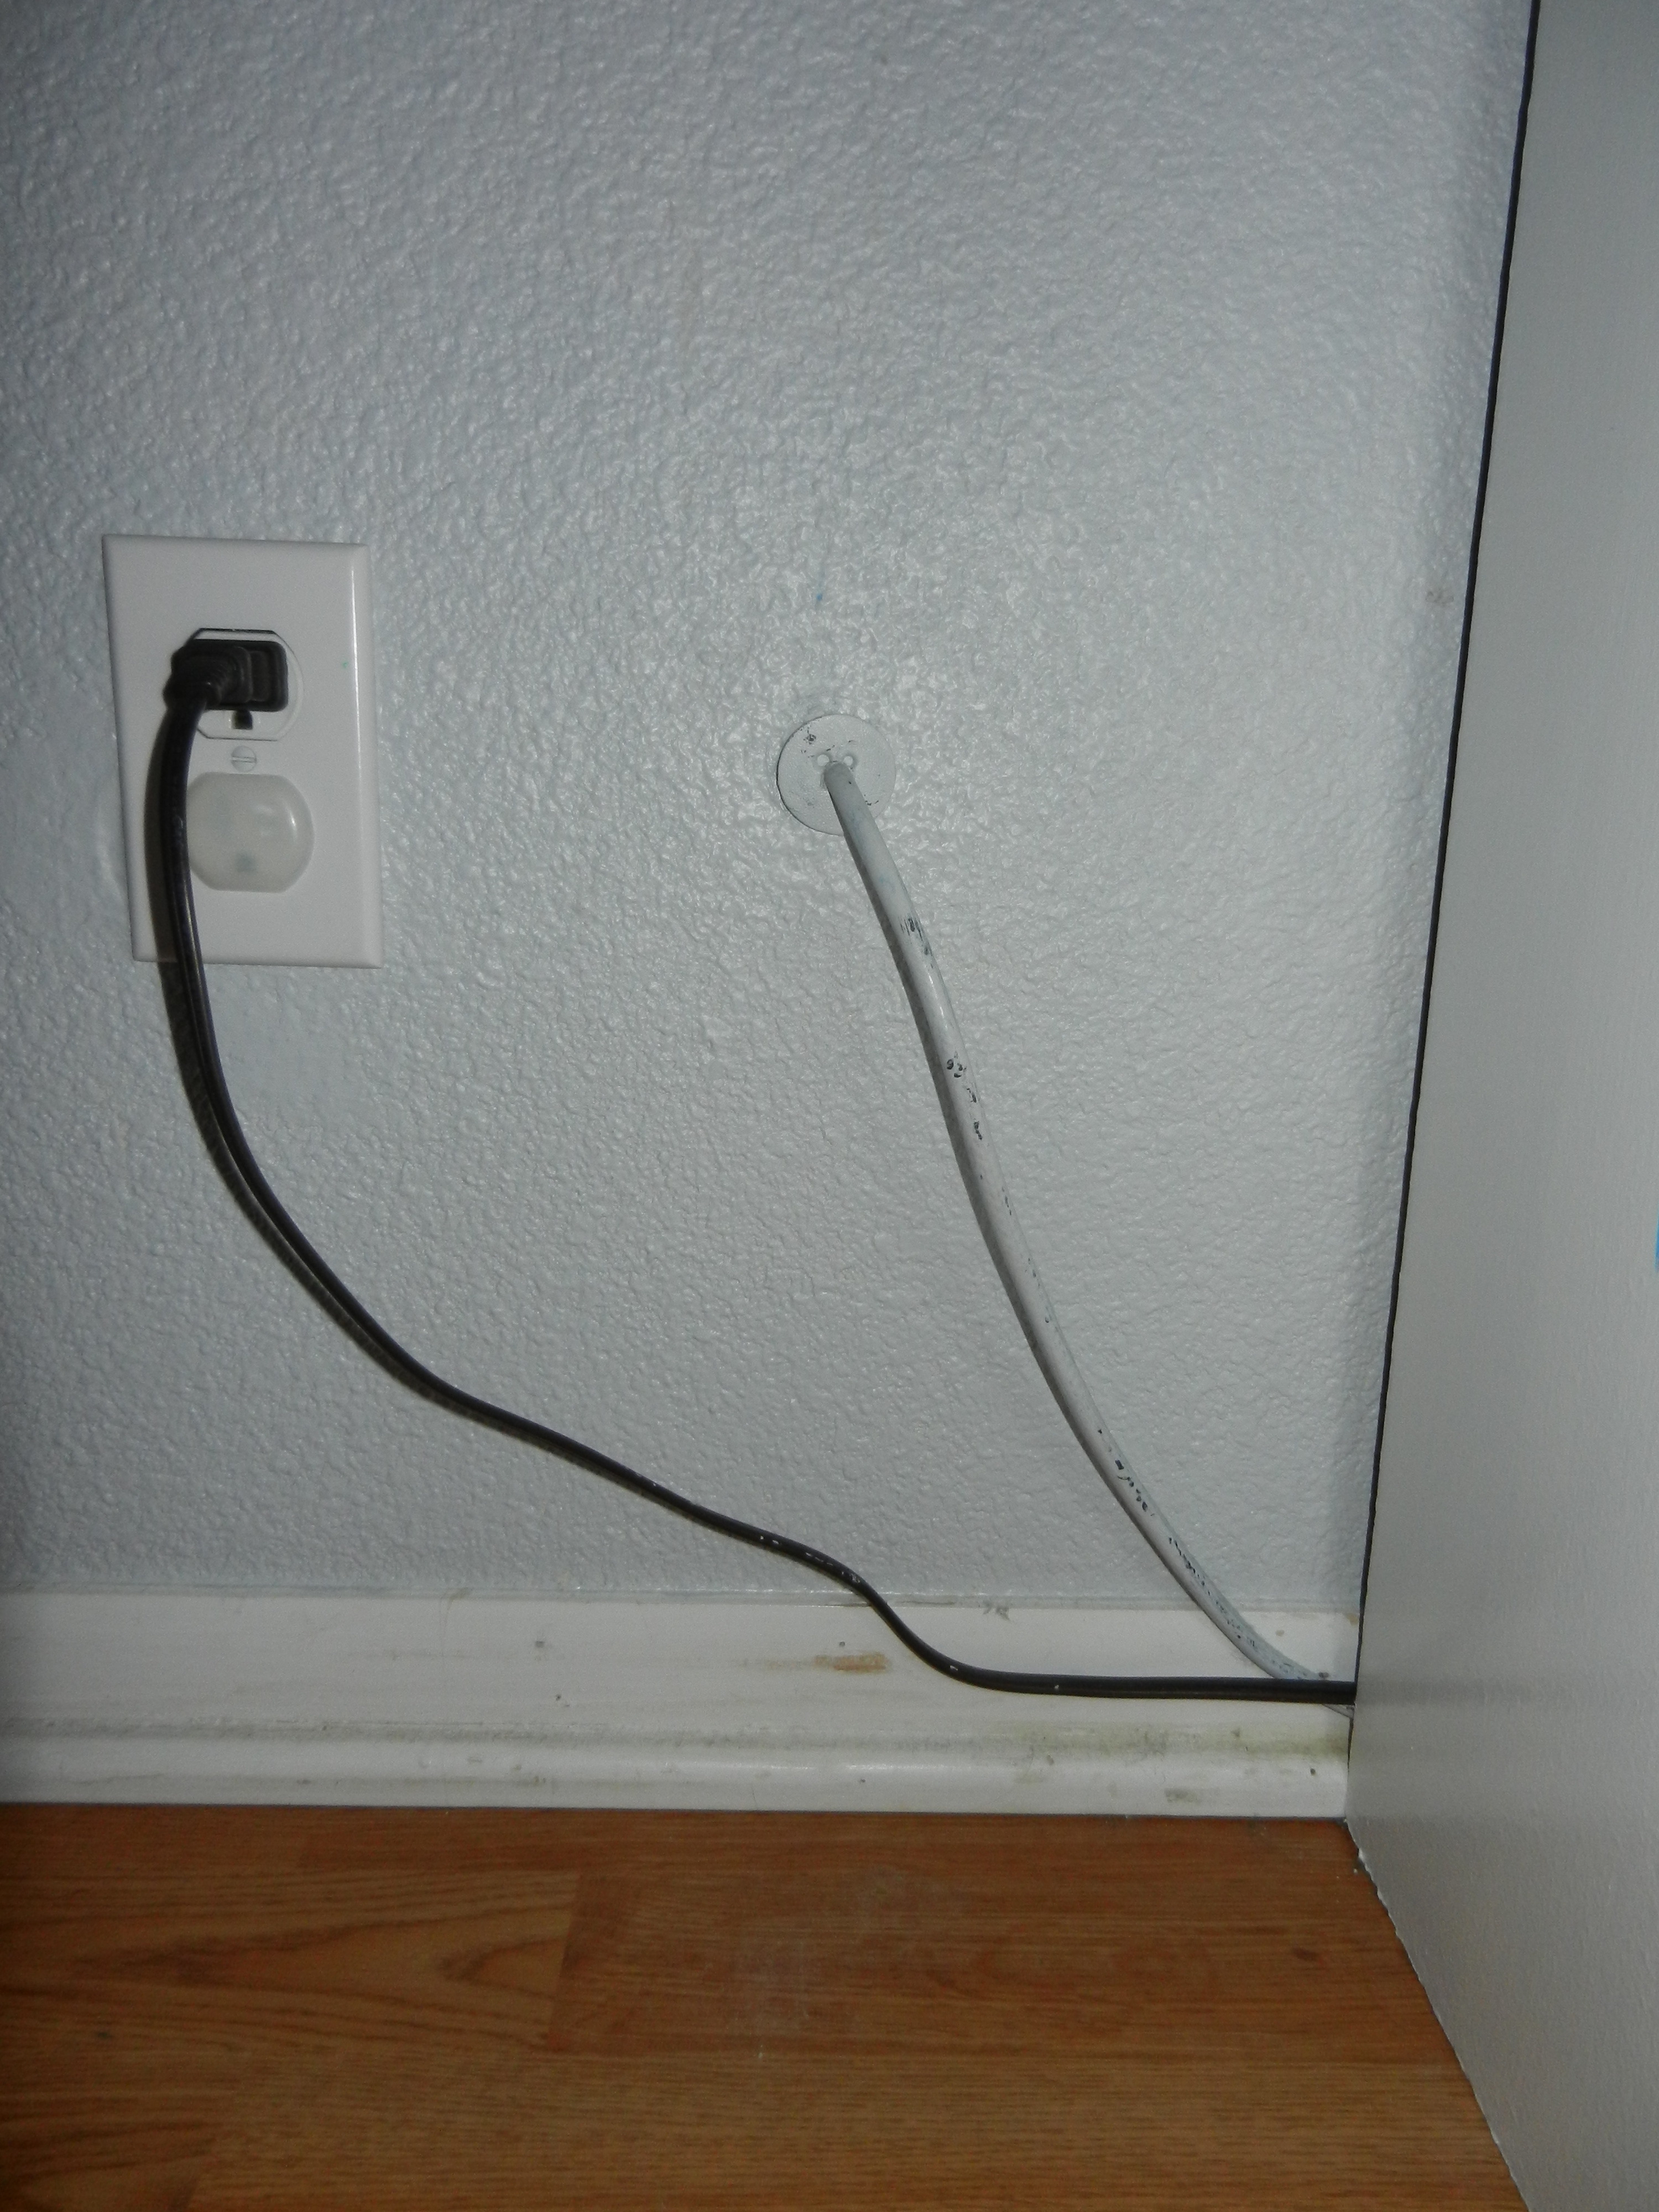 If this is your situation, today's DIY will walk you through how to upgrade your cable wiring with a box and wall plate. It's cheaper and easier than you'd think! You can totally do it!
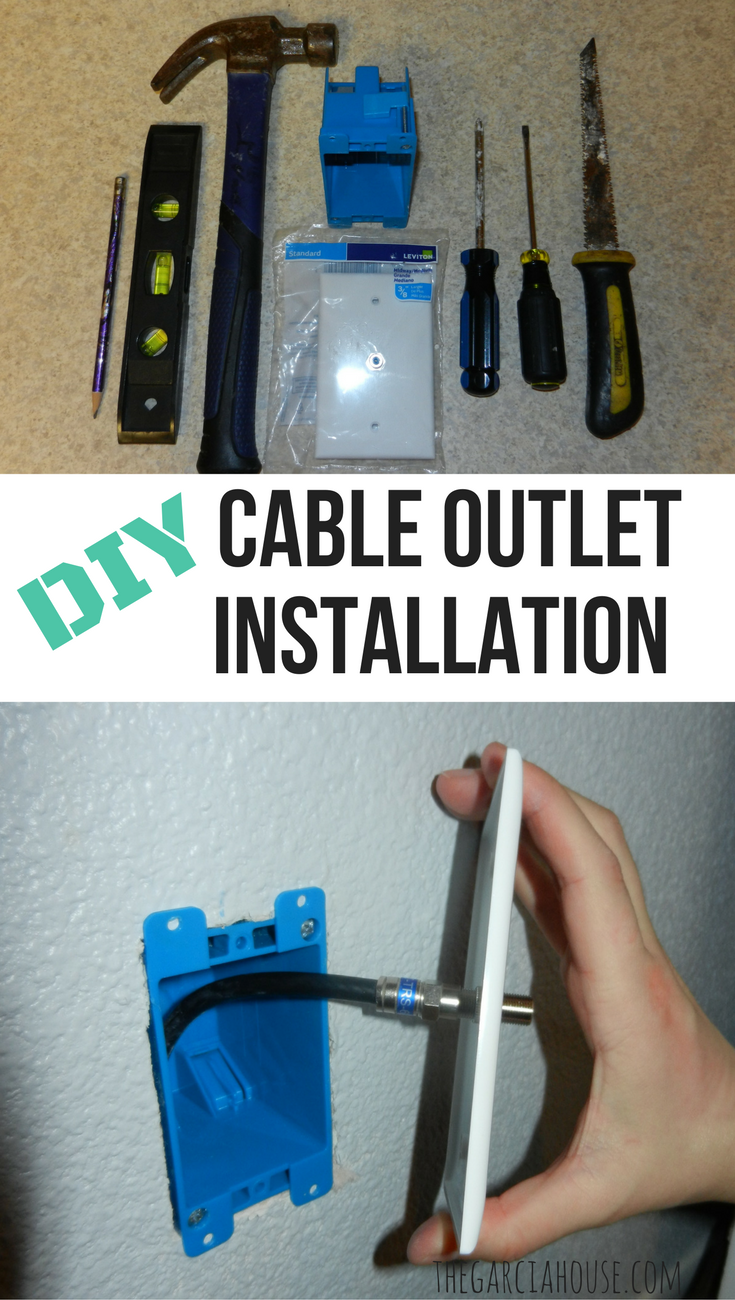
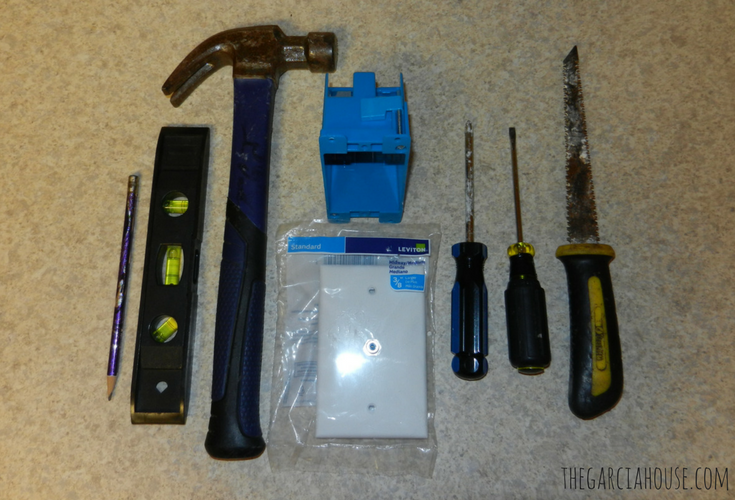
Materials:
- 1 Gang Electrical Box
- 3/8" Coax Cable Receptacle Wall Plate
- Stud finder
- Drywall/ Keyhole Saw
- Flathead Screwdriver
- Phillips Screwdriver
- Hammer
- Pencil
- Level
- Measuring tape
These are affiliate links for your convenience. If you purchase the tools for the job, I make a small commission (at no added cost to you) to help keep the blog going! Thank you 🙂


Step 1: Check for studs
Grab your stud finder and check the area near your coax. Make sure it's not so close to a stud that you can't fit your box. If it is, no worries! You just may have to plan your box slightly to the left or right of where your coax comes through the wall rather than centered. This step prevents you from cutting a hole in your wall in the wrong place. Don't skip it lol
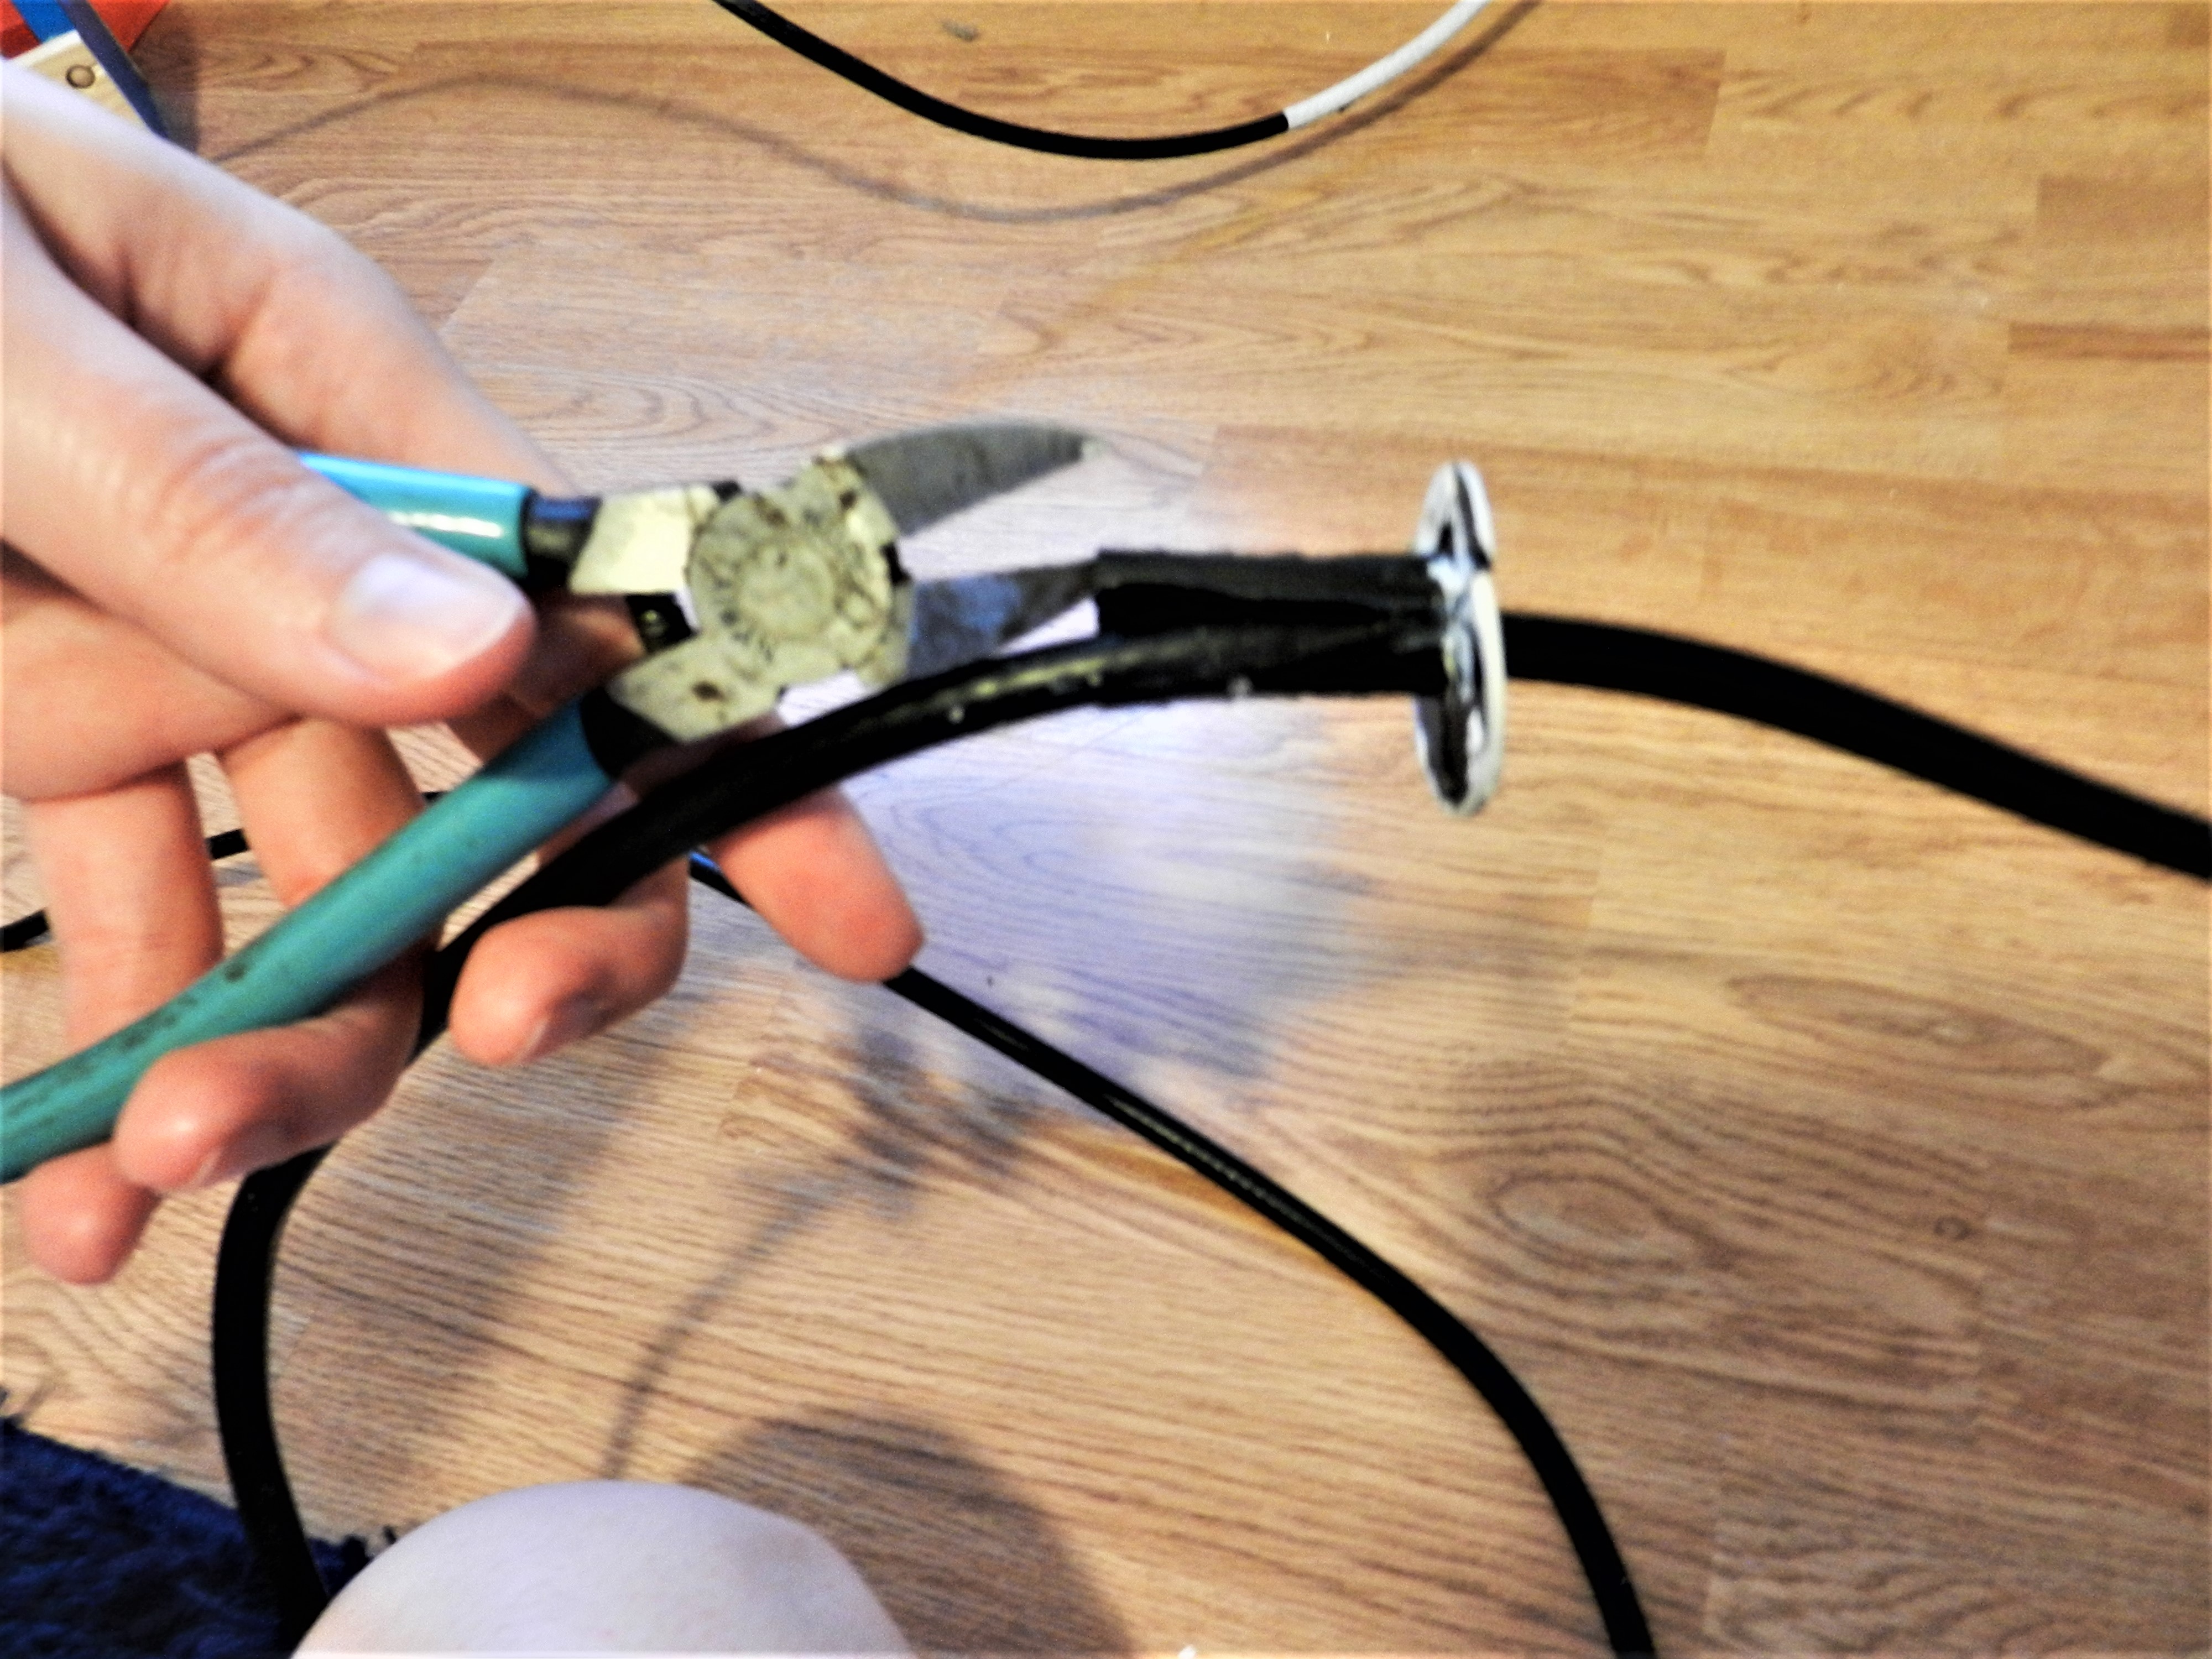
Step 2: Remove the plastic bushing
The black (in my case) plastic thingie surrounding the coax where it comes through the wall is called a cable feed-through bushing. I looked that up for you guys. You're welcome. I used a flat head screw driver to pop it out of the wall and some small snips (you could use scissors) to carefully cut this off.
Step 3. Push coax into wall & measure for receptacle
 Now you can push the excess coax cable into the wall, leaving only the head peeking out. Next, let's find where we need to cut the drywall for the new box! You're doing great 😉
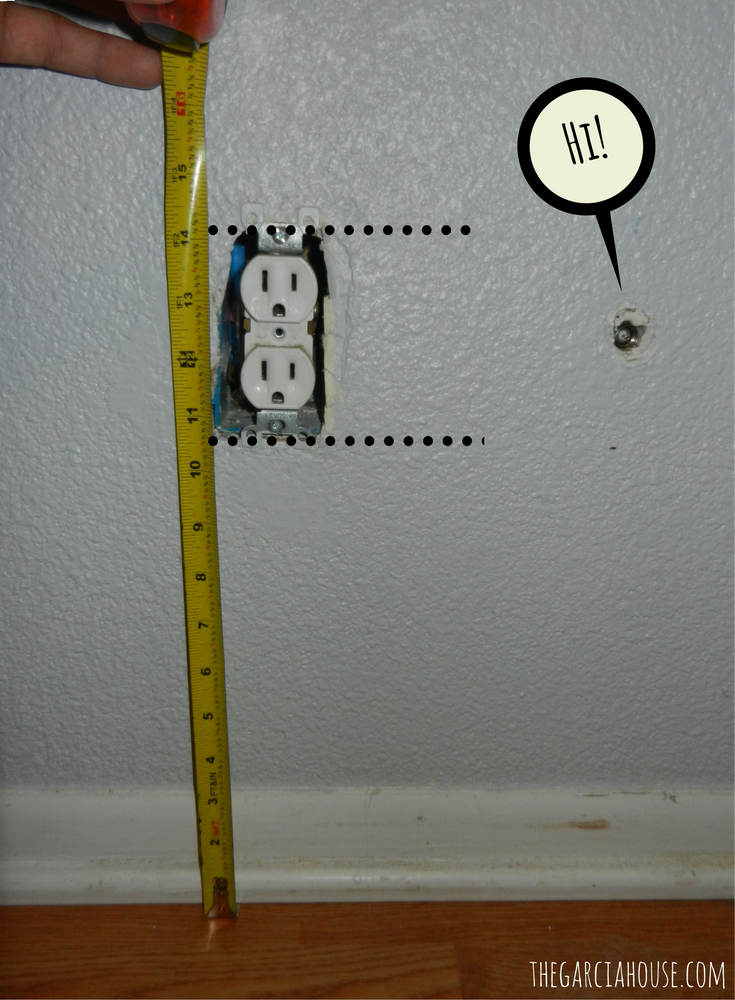
If you have a nearby outlet to use as a reference, like I did, remove the face plate and measure up to the bottom of the box.
Pro tip: you wanna remove the wall plate because we're cutting the hole to fit the electrical box--not the wall plate. If Roland didn't point that out, I totally would've measured off the cover and it would have made the cable cover visibly lower which would have bugged the crap outta me! Thank you husband 🙂
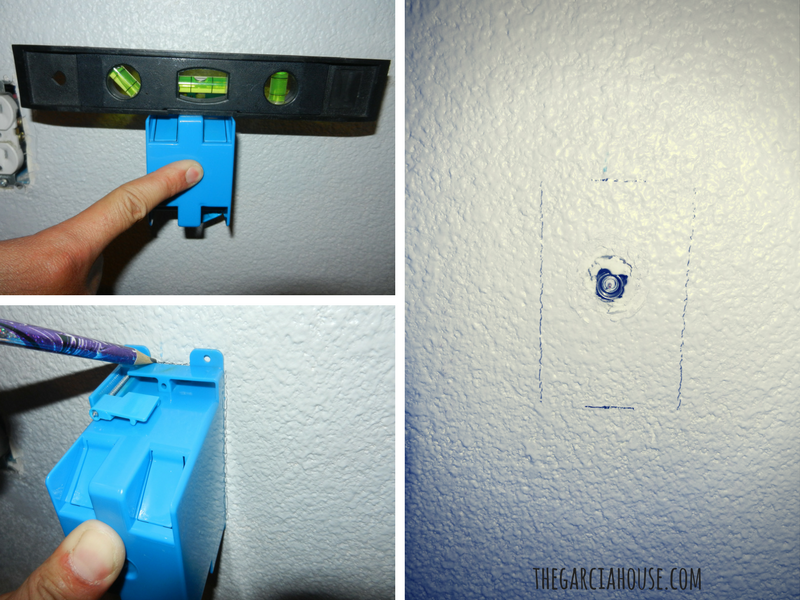
In our case, the bottom was 10 1/2 inches from the floor. I moved my measuring tape over to the peeking coax and marked 10 1/2 inches. Take the front of your electrical box and match the bottom of it to your mark. You may want to use a level to make sure it's straight. Now outline your box with a pencil (excluding the little "ears").
If you don't have nearby outlets as a reference, just take your low voltage electrical box and center it over where your coax is peeking out. Use a level to ensure your box is straight. Trace the front of the electrical box (excluding the little "ears"), and you're ready to cut!
Step 4: Cut your drywall
Using a keyhole saw (or drywall saw), cut out the receptacle outline you traced. Tapping the saw handle with a hammer can help get you started. Take your time and follow your lines. Once the drywall is cut, put on some gloves, and carefully remove the insulation in the area the box will be in. Now you can pull your coax back through the opening (just enough to work with).
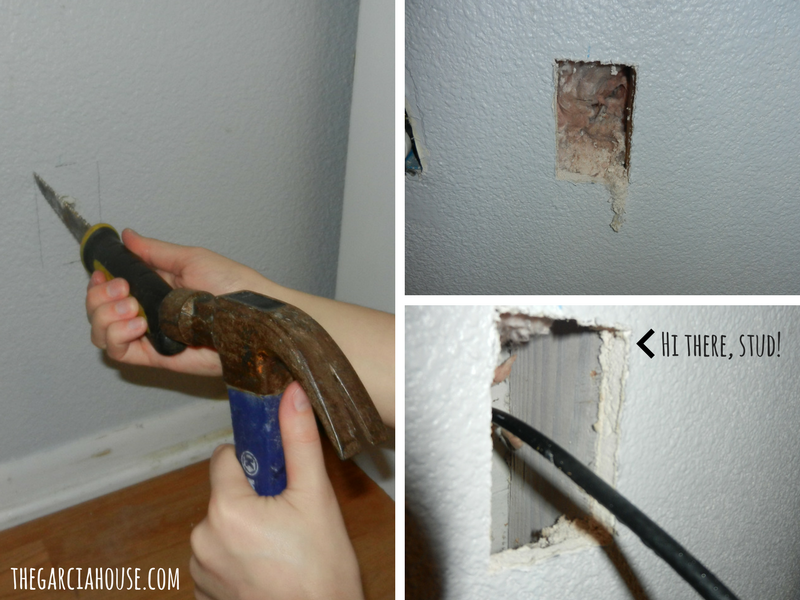 As you can see, we were super close to a stud! Unfortunately, not of the Ryan Gosling variety...
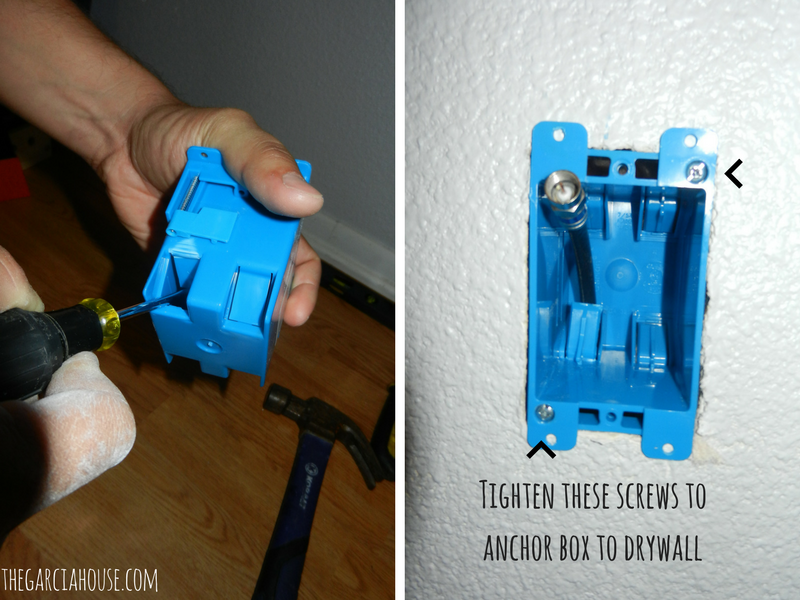
Step 5: Install the outlet box
Use a flat-head screwdriver to push open one of the tabs on the outlet box. Feed your coax through this opening and then push the box into the hole in the wall. Tighten the two screws on the box to anchor it to the drywall.
 Step 6: Install face plate & admire your work!
Now just screw your coax into the connector on the wall plate and attach your wall plate to the box with the screws provided. You're done! Pat yourself on the back, you stud-finding, drywall-cutting, box-installing genius!
COST BREAKDOWN:
1- 1 Gang electrical box = $0.98
1- coax wall plate = $3.85
Tax= $0.39
Total: $5.22
I had all the other tools on hand and only needed the two items above. This will probably be the case for most of you as well. Our cable company said they would charge $100 to come out and do this. Can you believe that?! So we just saved Nearly $95!!
I hope you found this tutorial helpful! Let's not forget, my husband is an electrician. Are there any other small electrical tasks you'd like to learn how to do? Let me know in the comments below! We'd love to help you out 🙂
 You may also like these posts: