Y'all knew I couldn't stay away from more deck projects, right?
 (This post contains affiliate links for your convenience!)
This project wasn't actually planned but came about as a solution to a problem I'd been having. A while back, I bought those solar yard stake lights and lined our front sidewalk up to the entry with them. The problem was they were in the way every time we went to mow! It was a hassle removing the tops and putting them back every time. They were fully functional, so I didn't want to just get rid of them. At the same time, we were trying to figure out how to add a bit of ambient lighting to the deck. It hit me: why not mount these to the deck rails?
So here's what you'll need:
Solar yard lights (ours are like these)
Drill (this is Roland's heavy duty work drill, which makes projects a breeze!)
And here's all you have to do to pull this off in under 20 minutes!
Step 1: Assemble lights minus the post and stake.
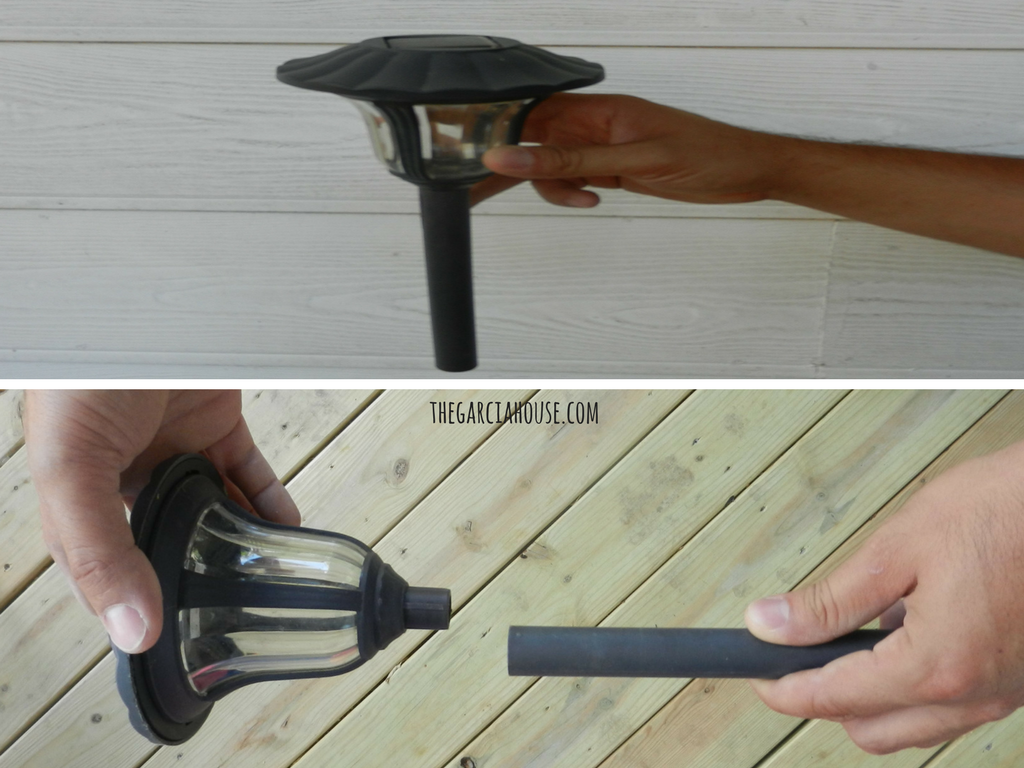 Most solar lights are actually already assembled (minus having the stake inserted) and are ready to go out of the box. If not, you may have a few twists and clicks to secure the pieces. Not much to it! Just check your directions 🙂
Step 2: Mark your light locations.
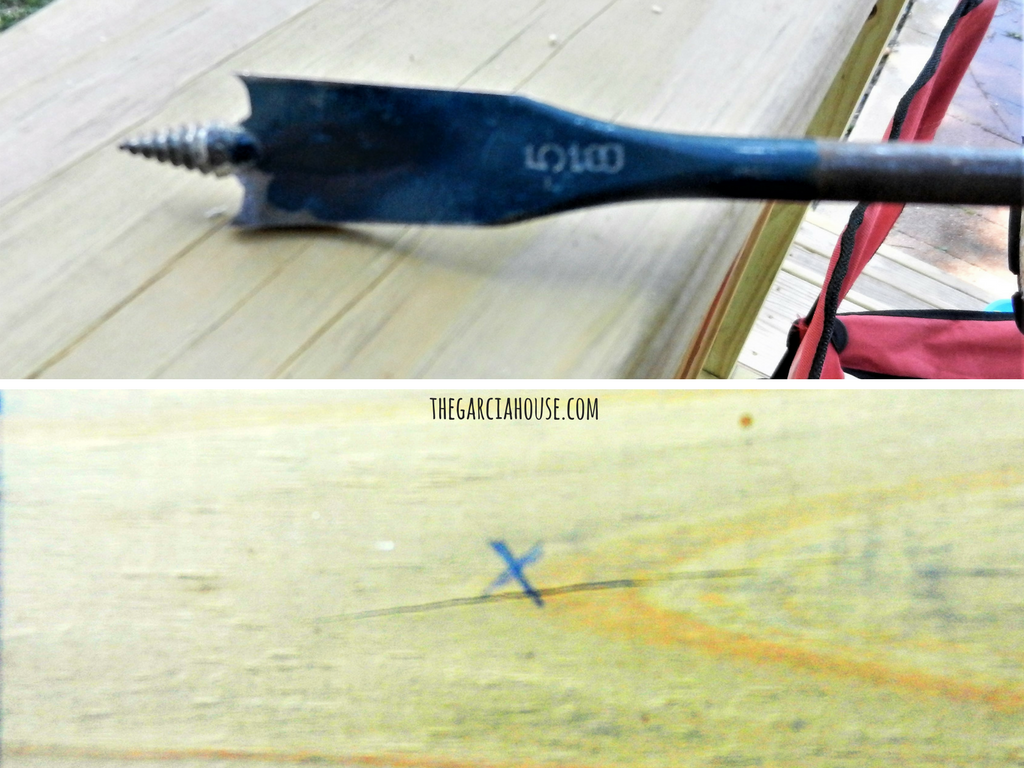
Step 3: Drill.
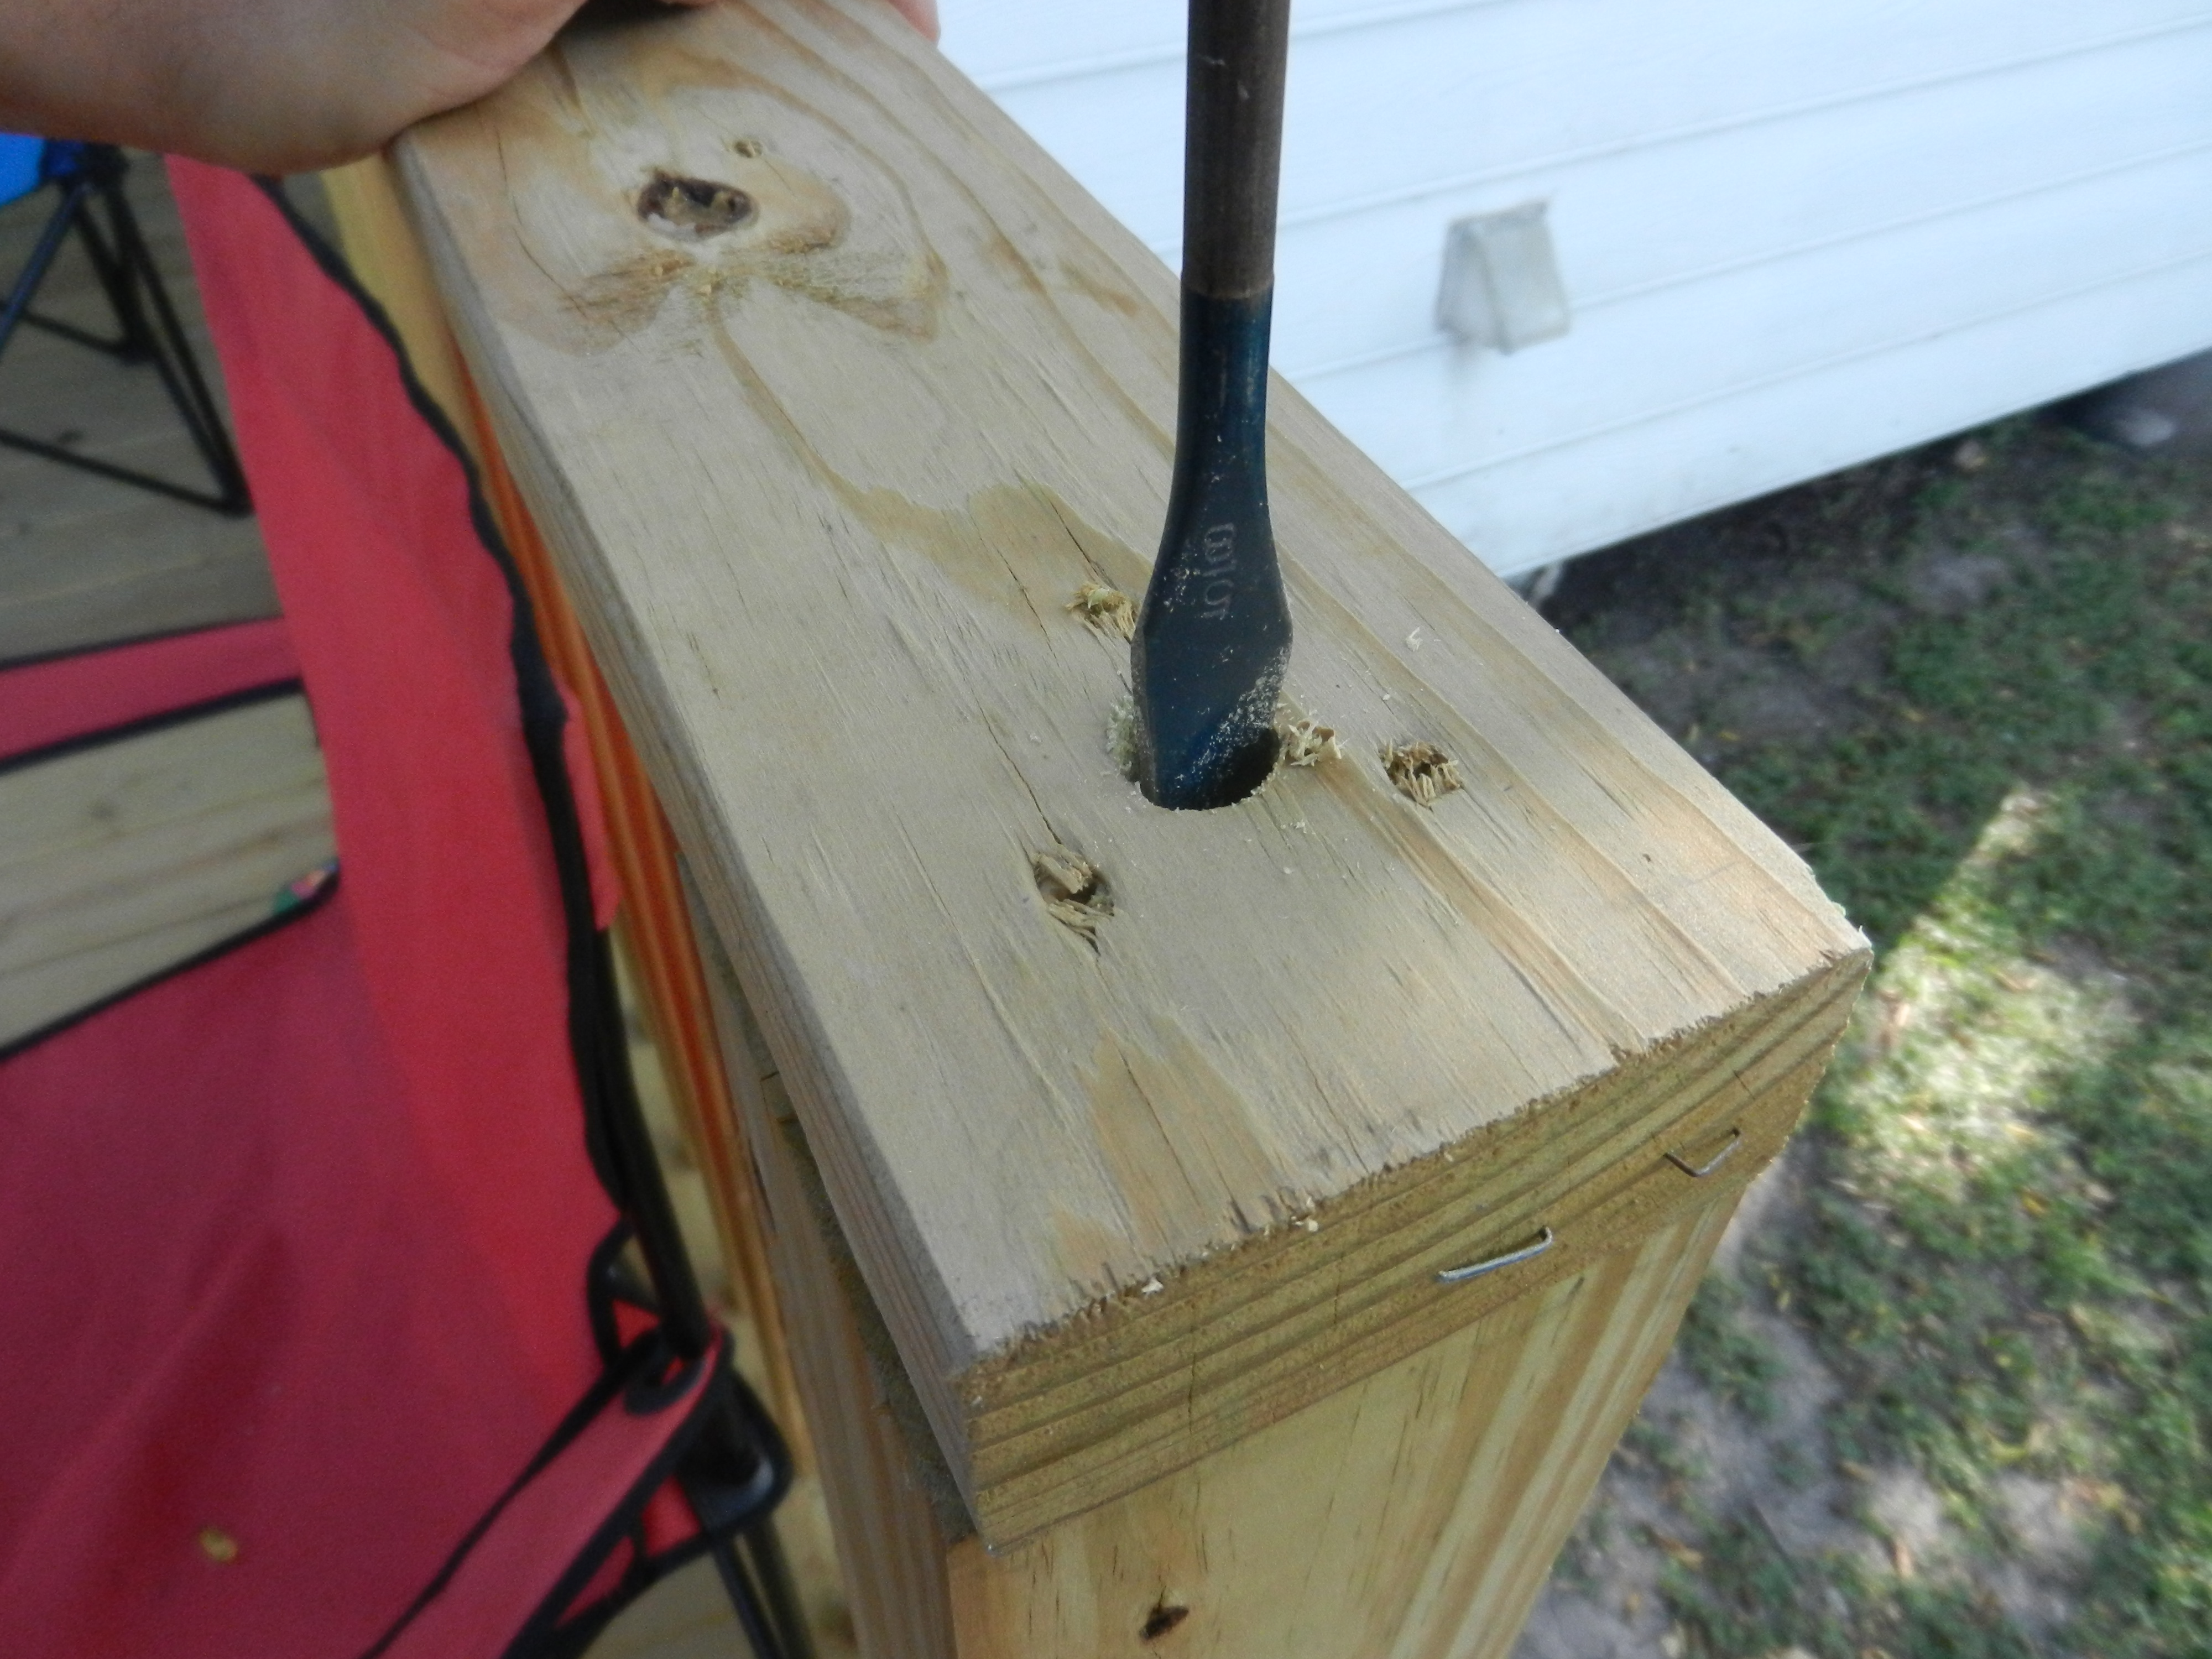
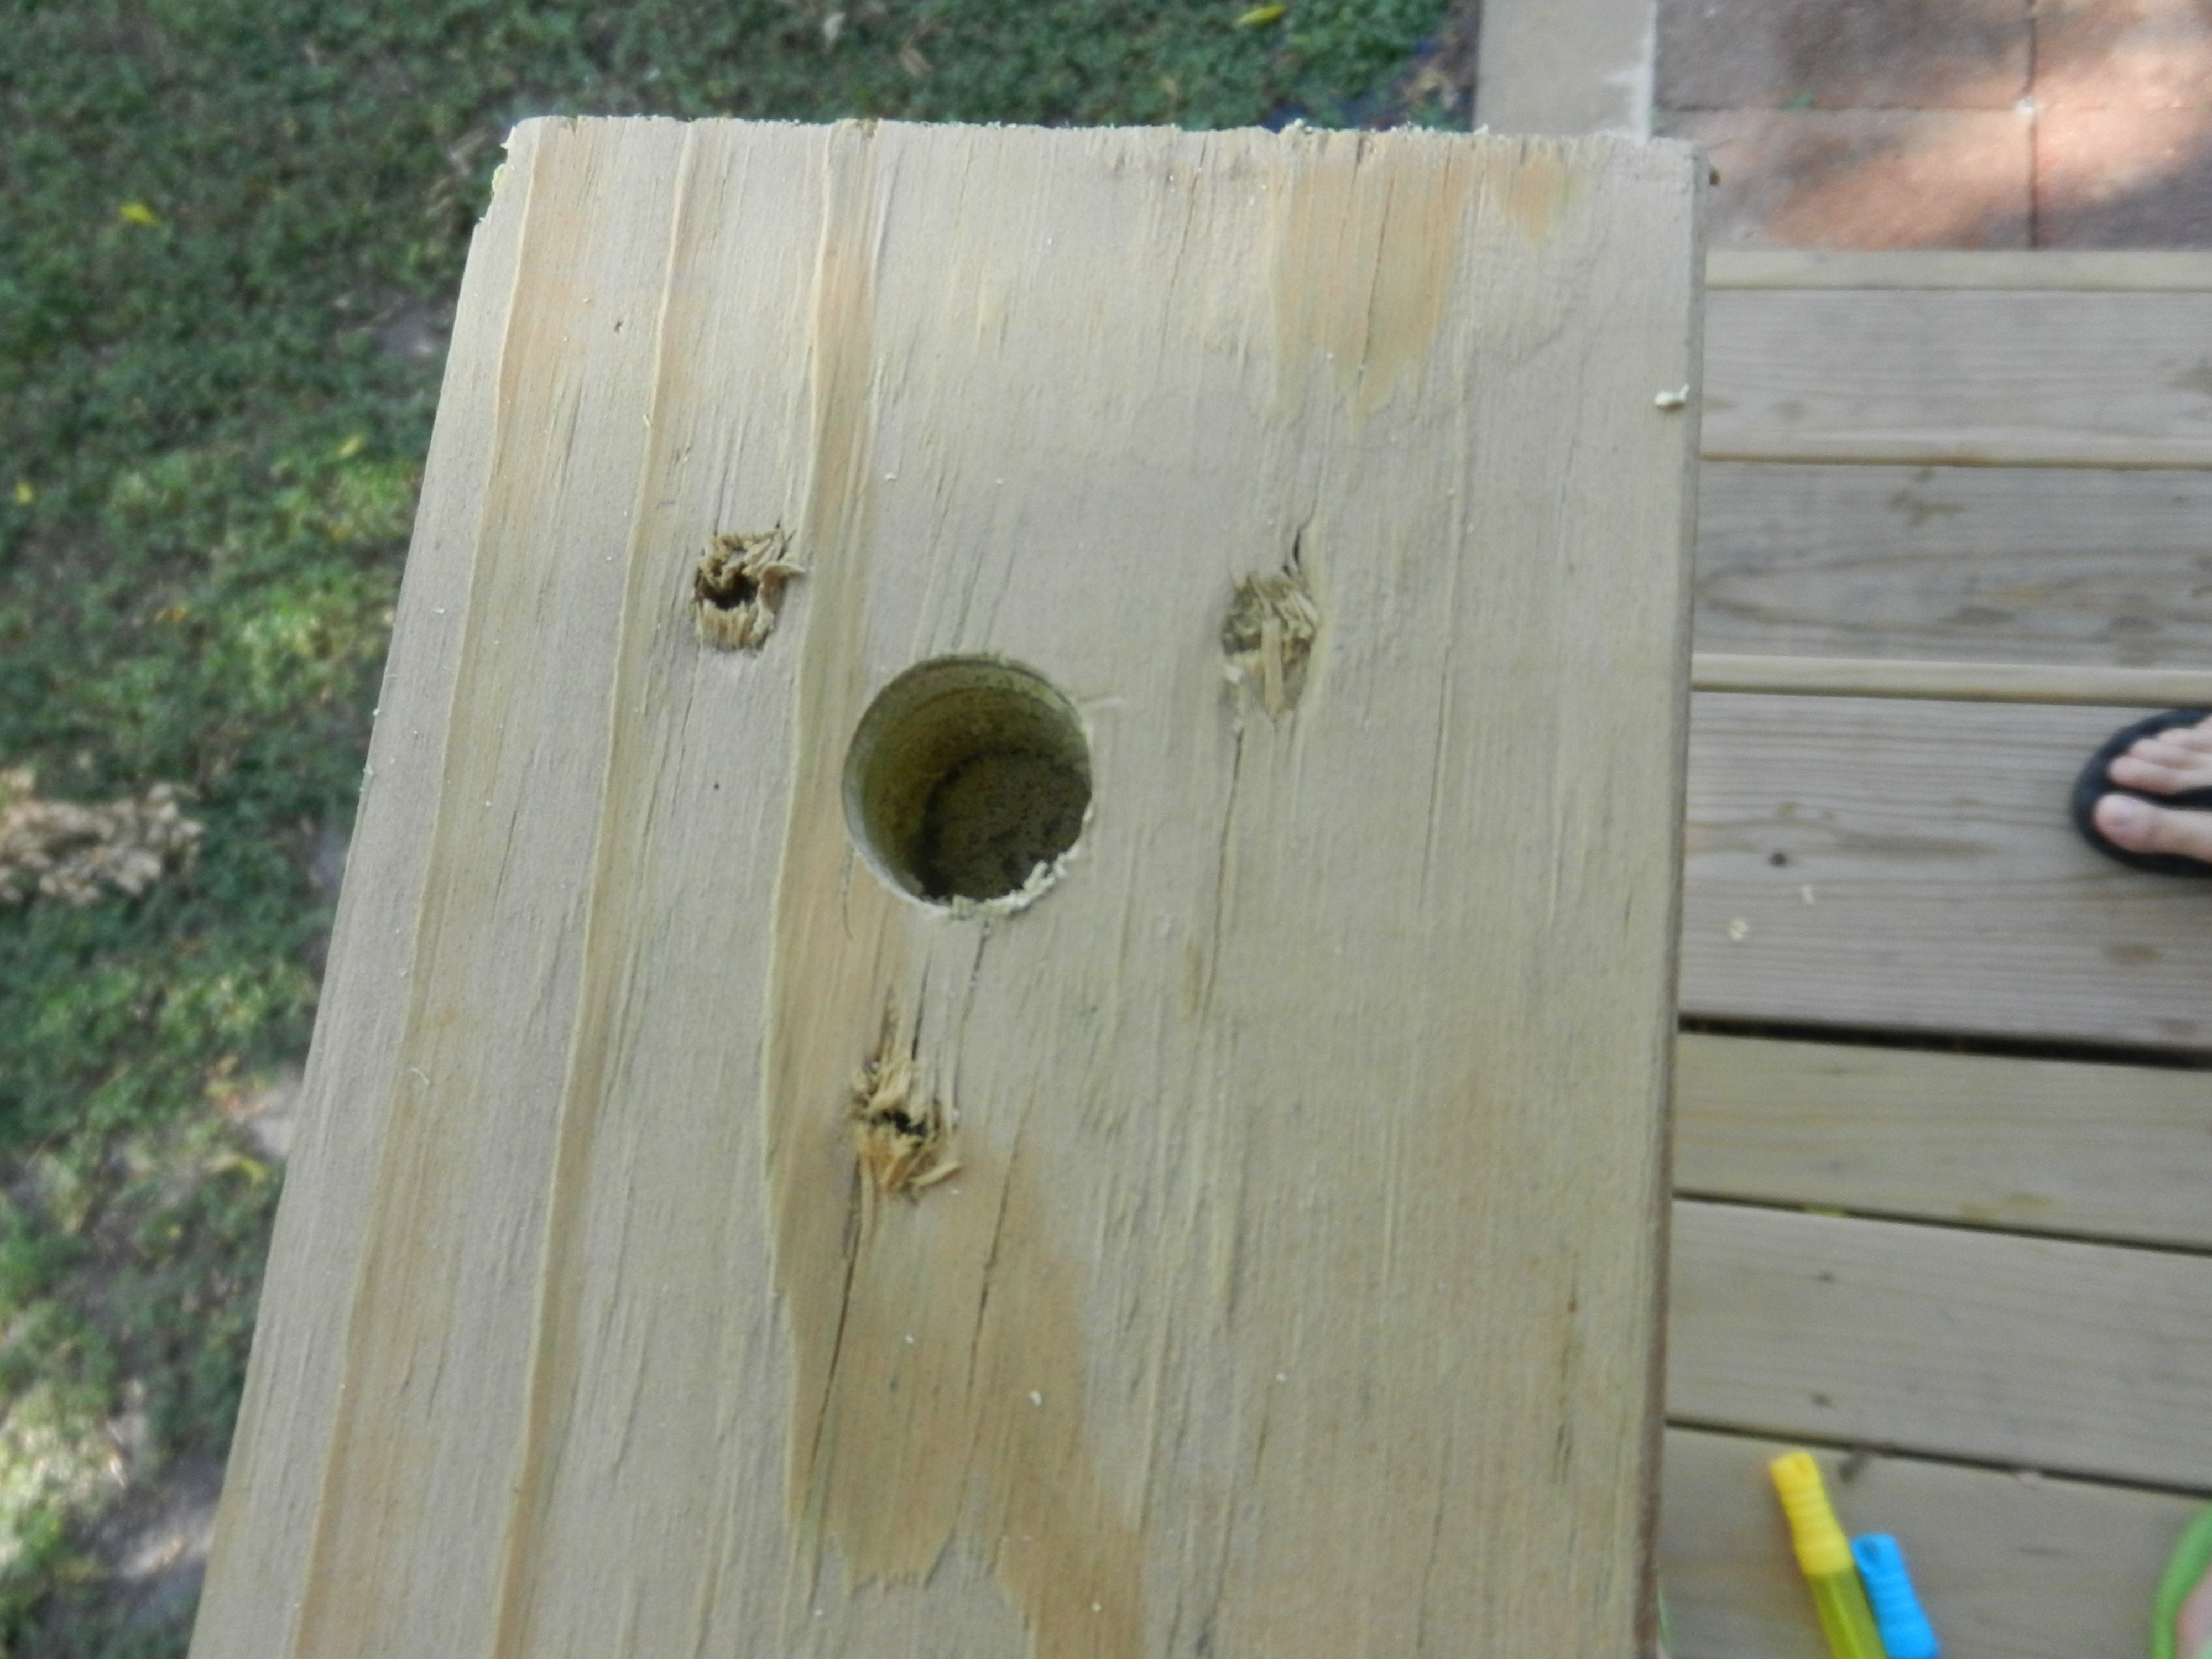 We didn't need to drill all the way through. Just deep enough to insert the head of the lights.
Step 4: Insert lights & enjoy!


That's it! So simple, right? It provides just enough light at night to relax on the deck without the harsh overhead light on. You could also add more lights if you wanted it to be brighter. Oh! Guess what guys? The deck has finally weathered long enough to stain it! *Happy dance* It is oppressively hot this summer, so we'll probably be doing that this fall. Can't wait to share that process with y'all! But don't worry, I have lots more to show you guys until then. In fact, I think our next project will be in the laundry room 😉
Until next time,