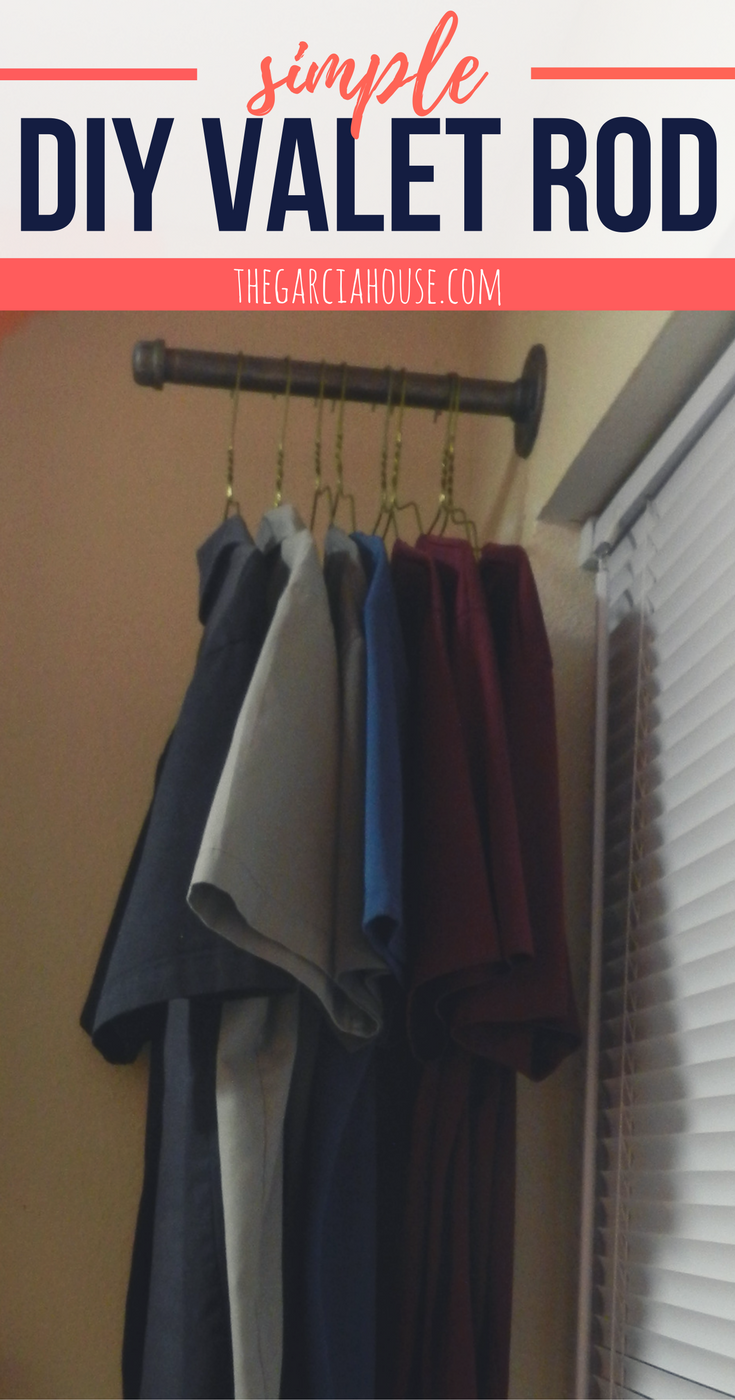
 Hey guys 🙂 Hope you are enjoying your summer! South Texas is hotter than Hades' armpit, so you can bet on me being a cave dweller until evening hours. Like literally, I get sunburned checking the mail. It's unfortunate for both my social life and pasty complexion, but such is life. Anywho, as promised in my last laundry post, today I'm sharing a quick project with y'all for a DIY valet rod. You can use this if you don't have room for a drying rack OR if you want to be fancy and say things like "shall I hang your coat on the valet rod?" OR you can be like us and hang work clothes in your laundry room to save precious closet space for your nice things. We also store Roland's work jeans in one of the laundry cabinets as well so all his work stuff is in one place.
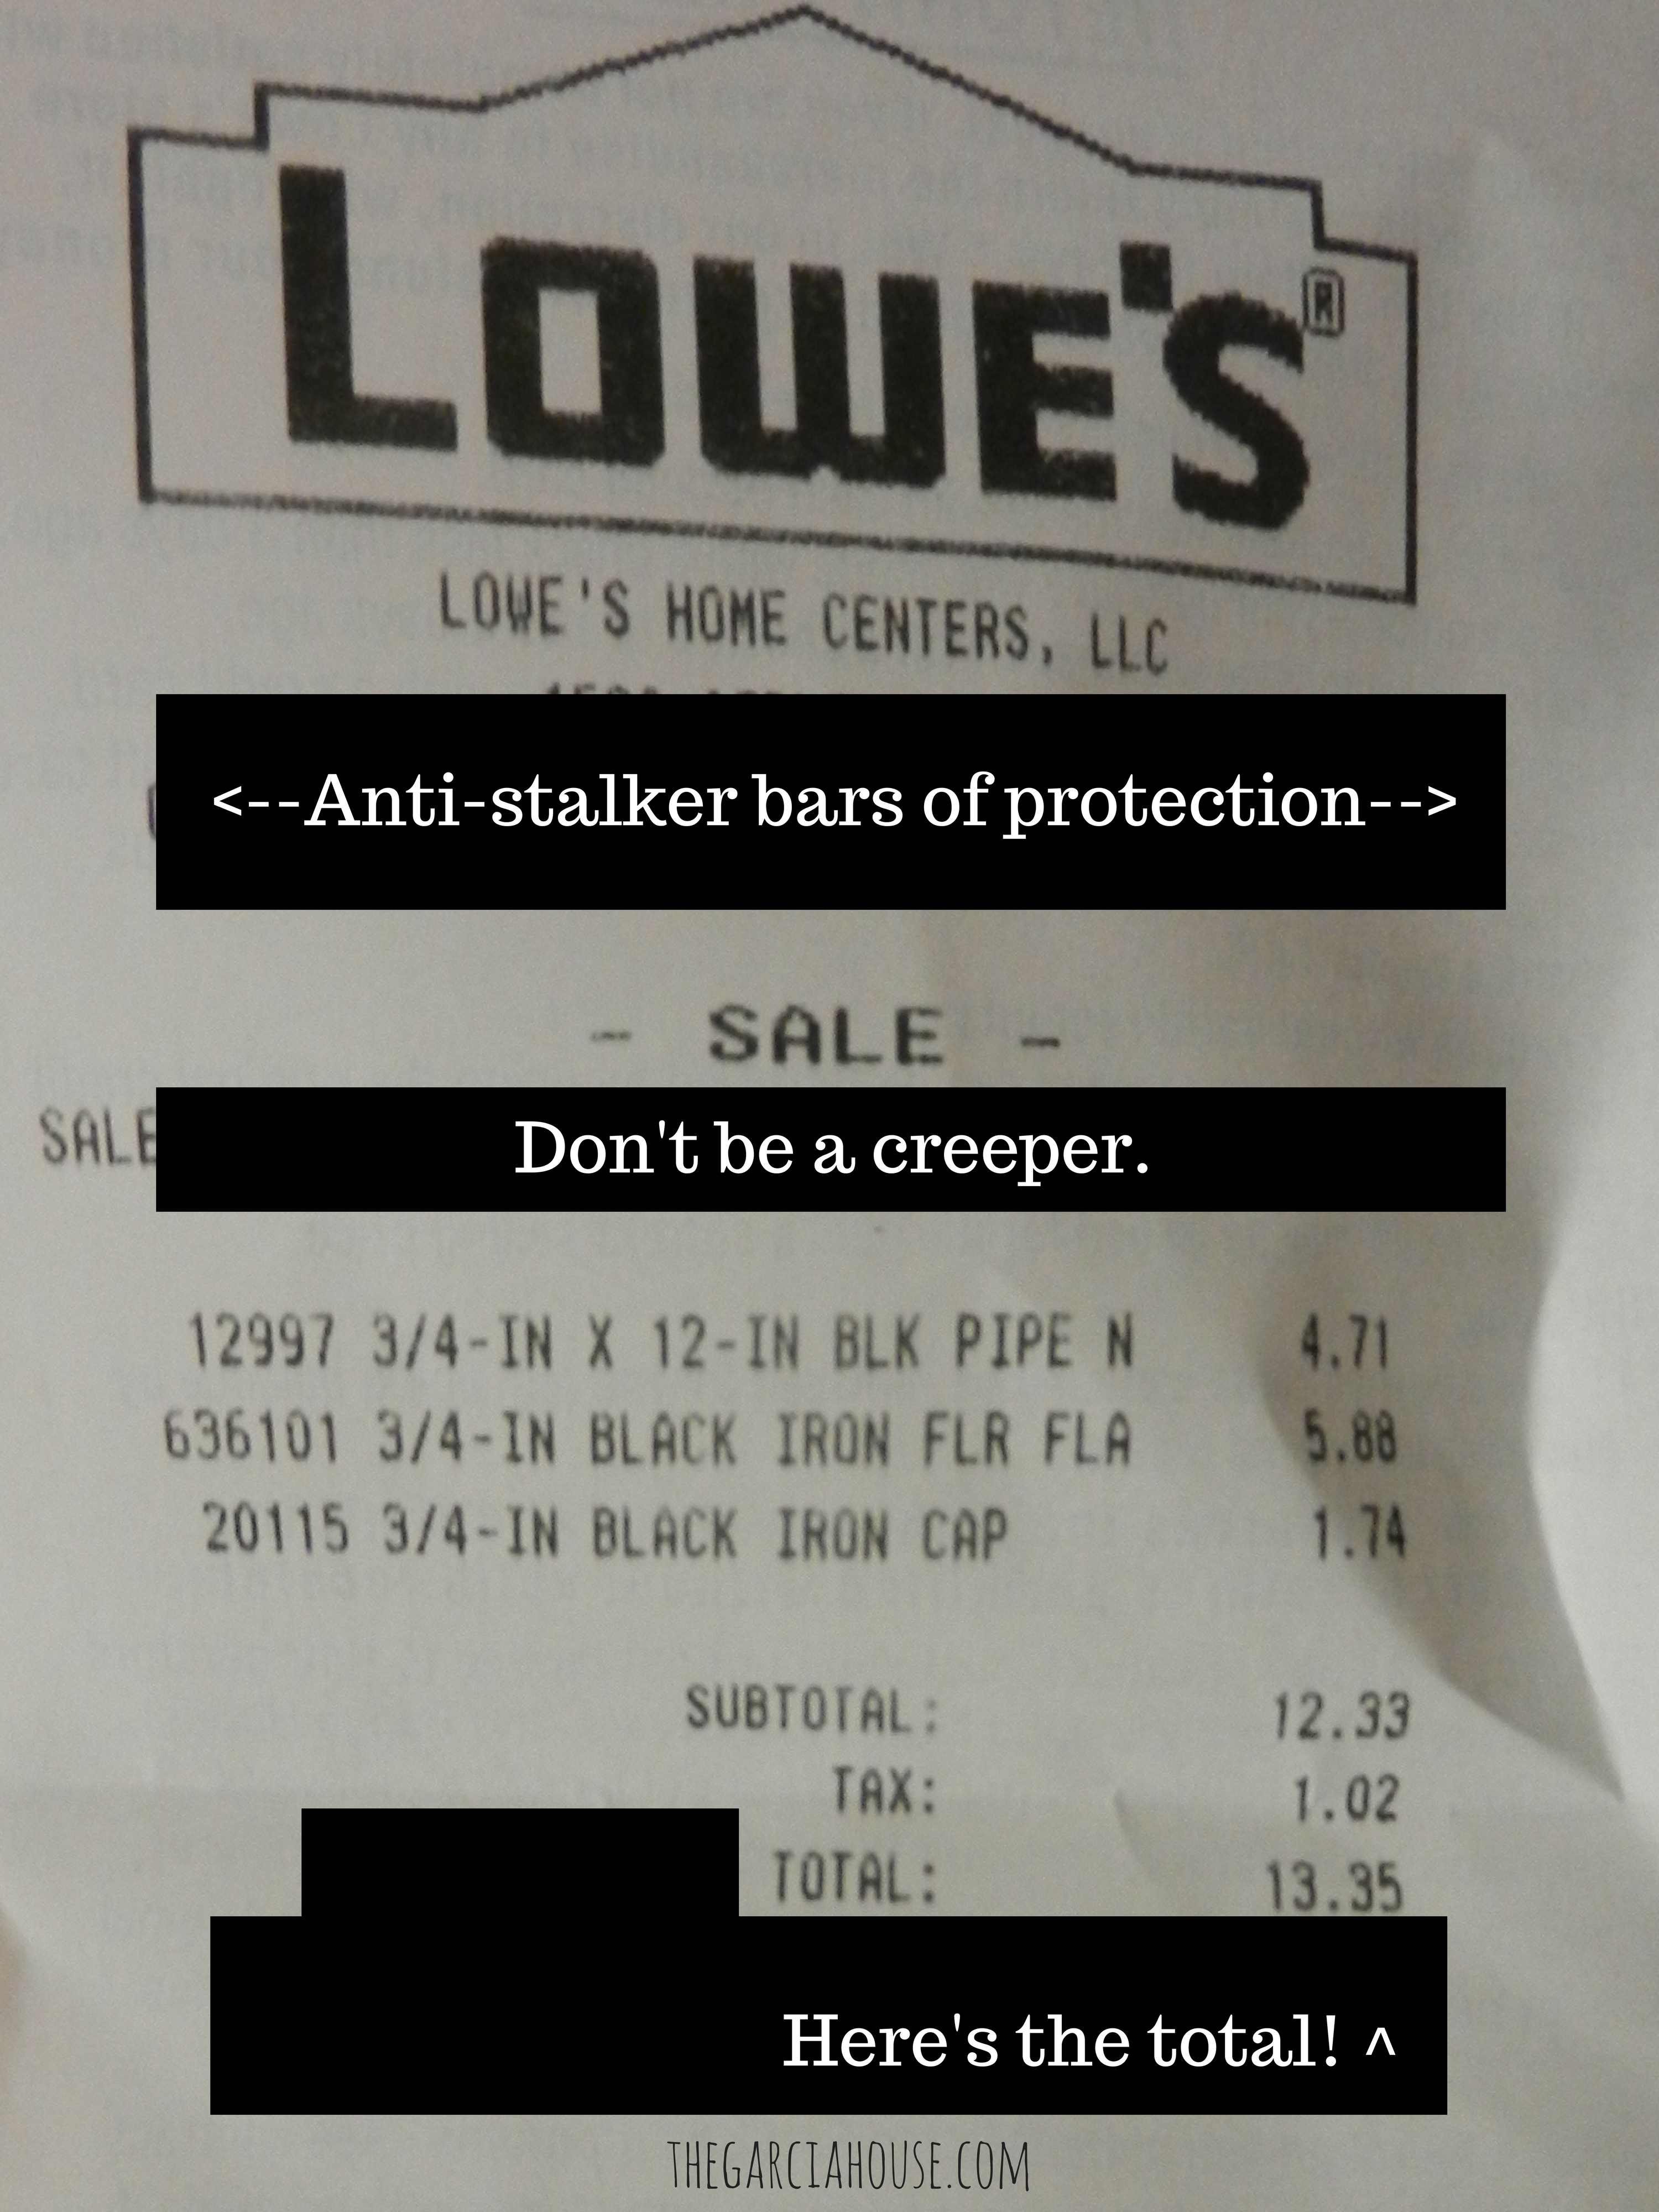
This DIY came in at $13 and change for us. Here's my receipt from Lowe's showing the exact parts and cost:
 This post contains affiliate links
So here we go!
You'll Need:
- 3/4" x 12" pipe
- 3/4" flange
- 3/4" cap
- 2-4 wood screws (1 1/2' or longer)
- drill <--Roland's drill
- stud finder
- pencil or sharpie
Full disclosure: YES you could buy those other parts on Amazon, but they were so much more expensive! And I don't wanna link stuff that you guys could get for much less in your local stores!
1. Clean pieces & assemble
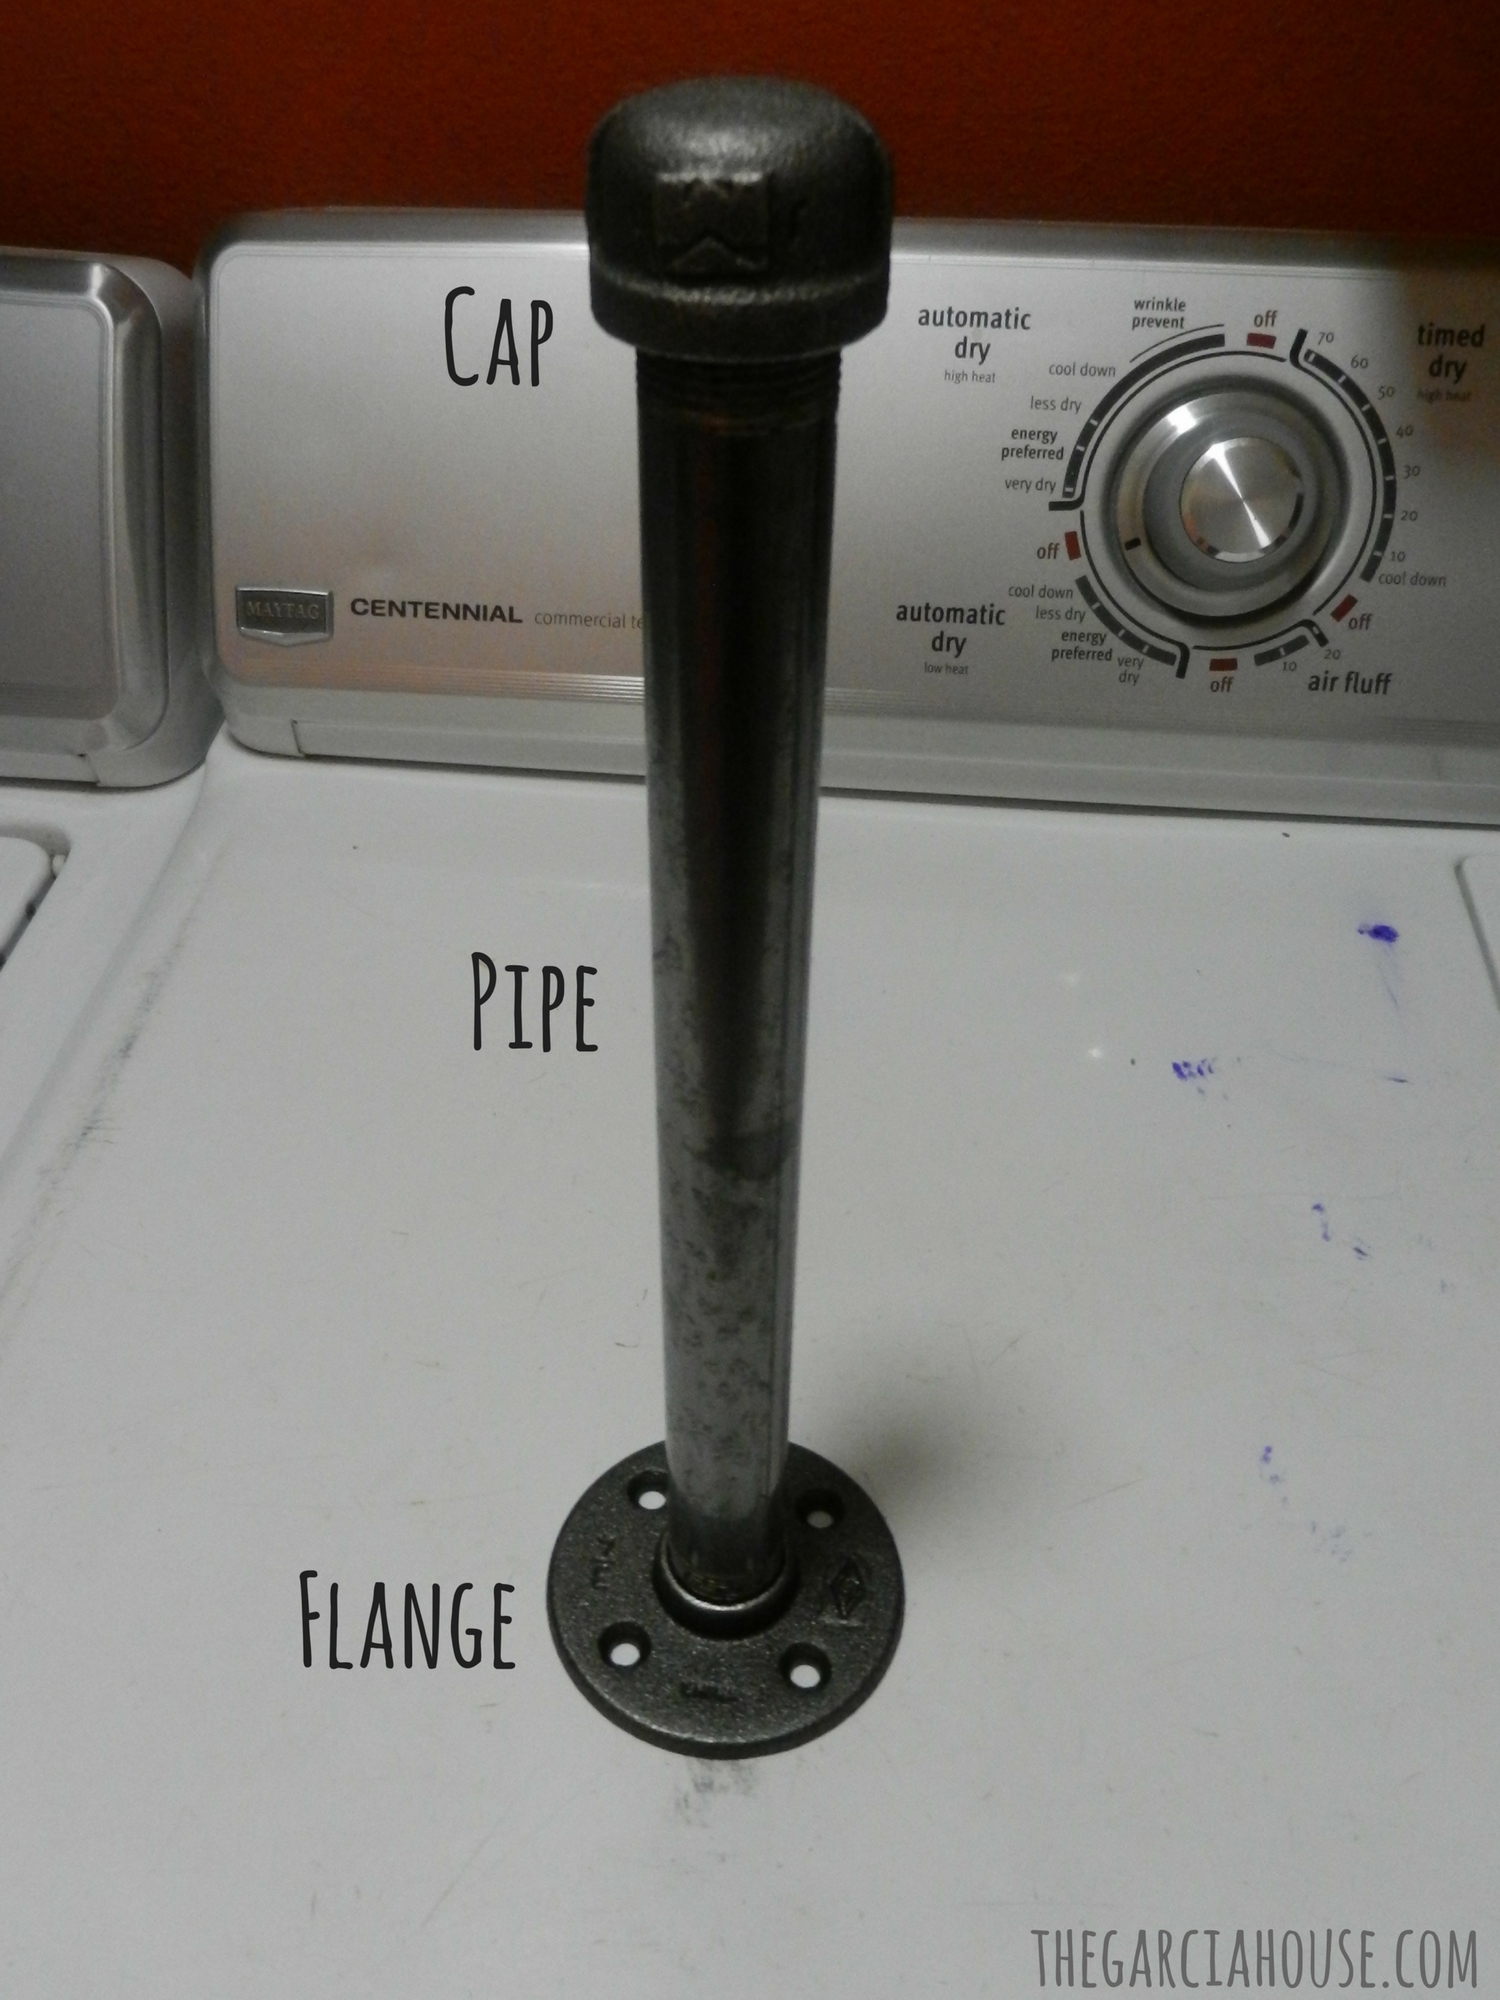 I just used a baby wipe to clean off some residue that was on them to prevent greasy smudges everywhere. Then I attached all the pieces for the next step.
2. Mark valet rod location
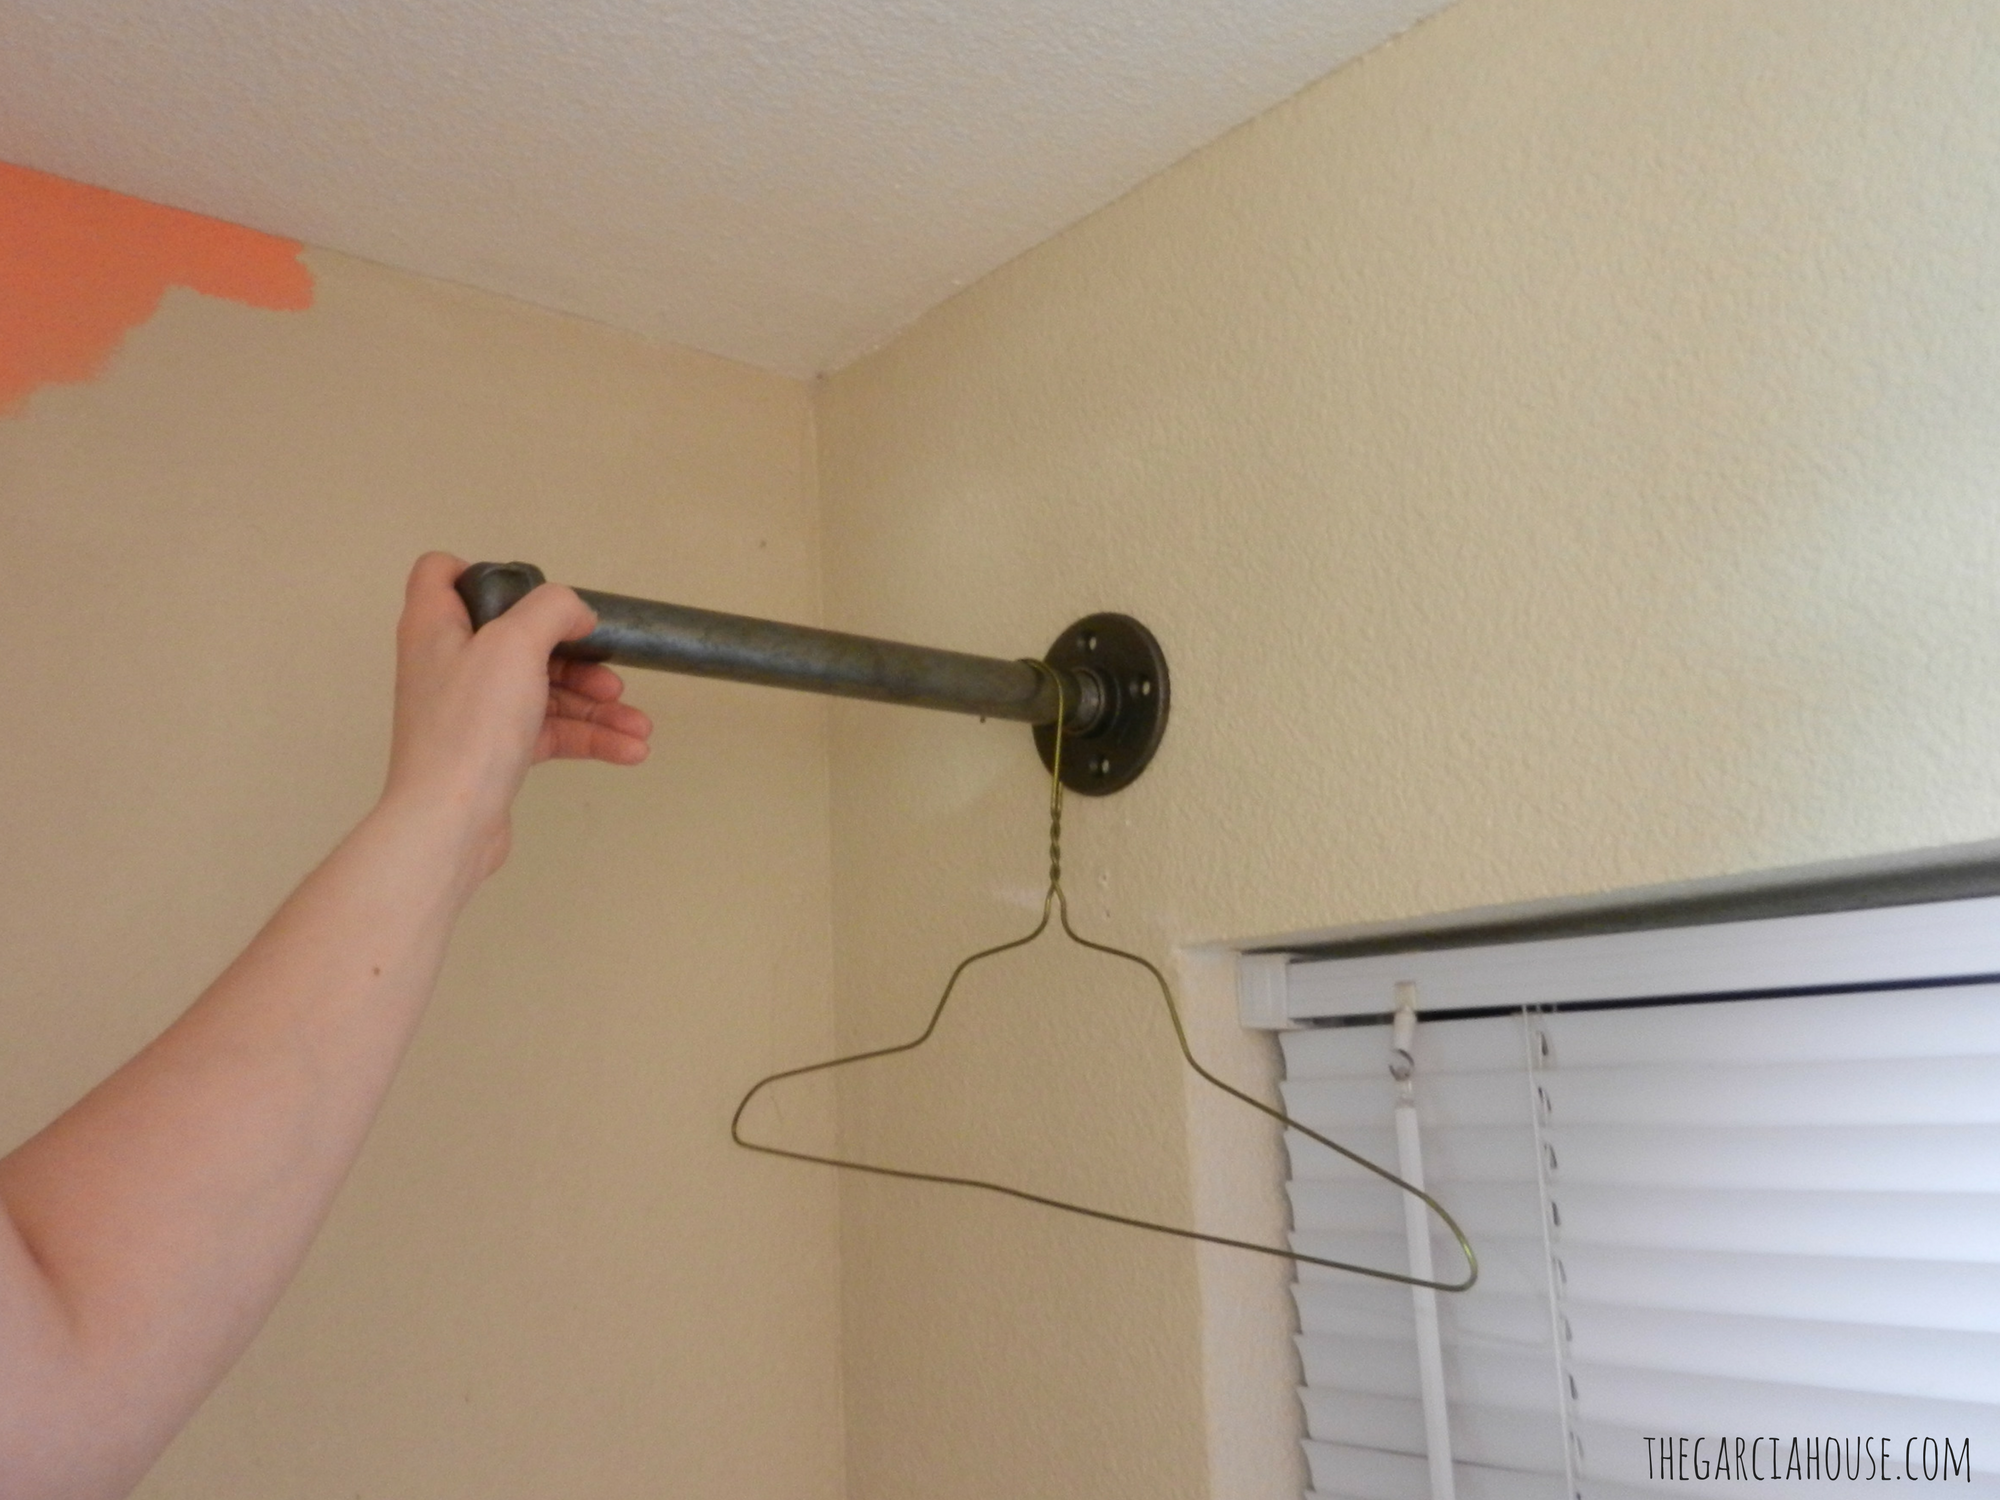 Put a hanger on the rod and hold it up to the wall to make sure you'll have enough width for clothes to hang. Use a pencil to mark the screw locations of the flange onto the wall. We used a stud finder to make sure our spot had a stud behind it (it did! yay!). Be prepared to re-position the rod over the nearest stud if one isn't right where you want. If the nearest stud is too far off, I would recommend toggle bolts since drywall anchors won't give as much hold as you need for this.
3. Drill screws into stud with flange in place
I removed the rod from the flange so that I only had to keep the flange in place while adding the screws.
4. Attach pipe and cap. That's it!
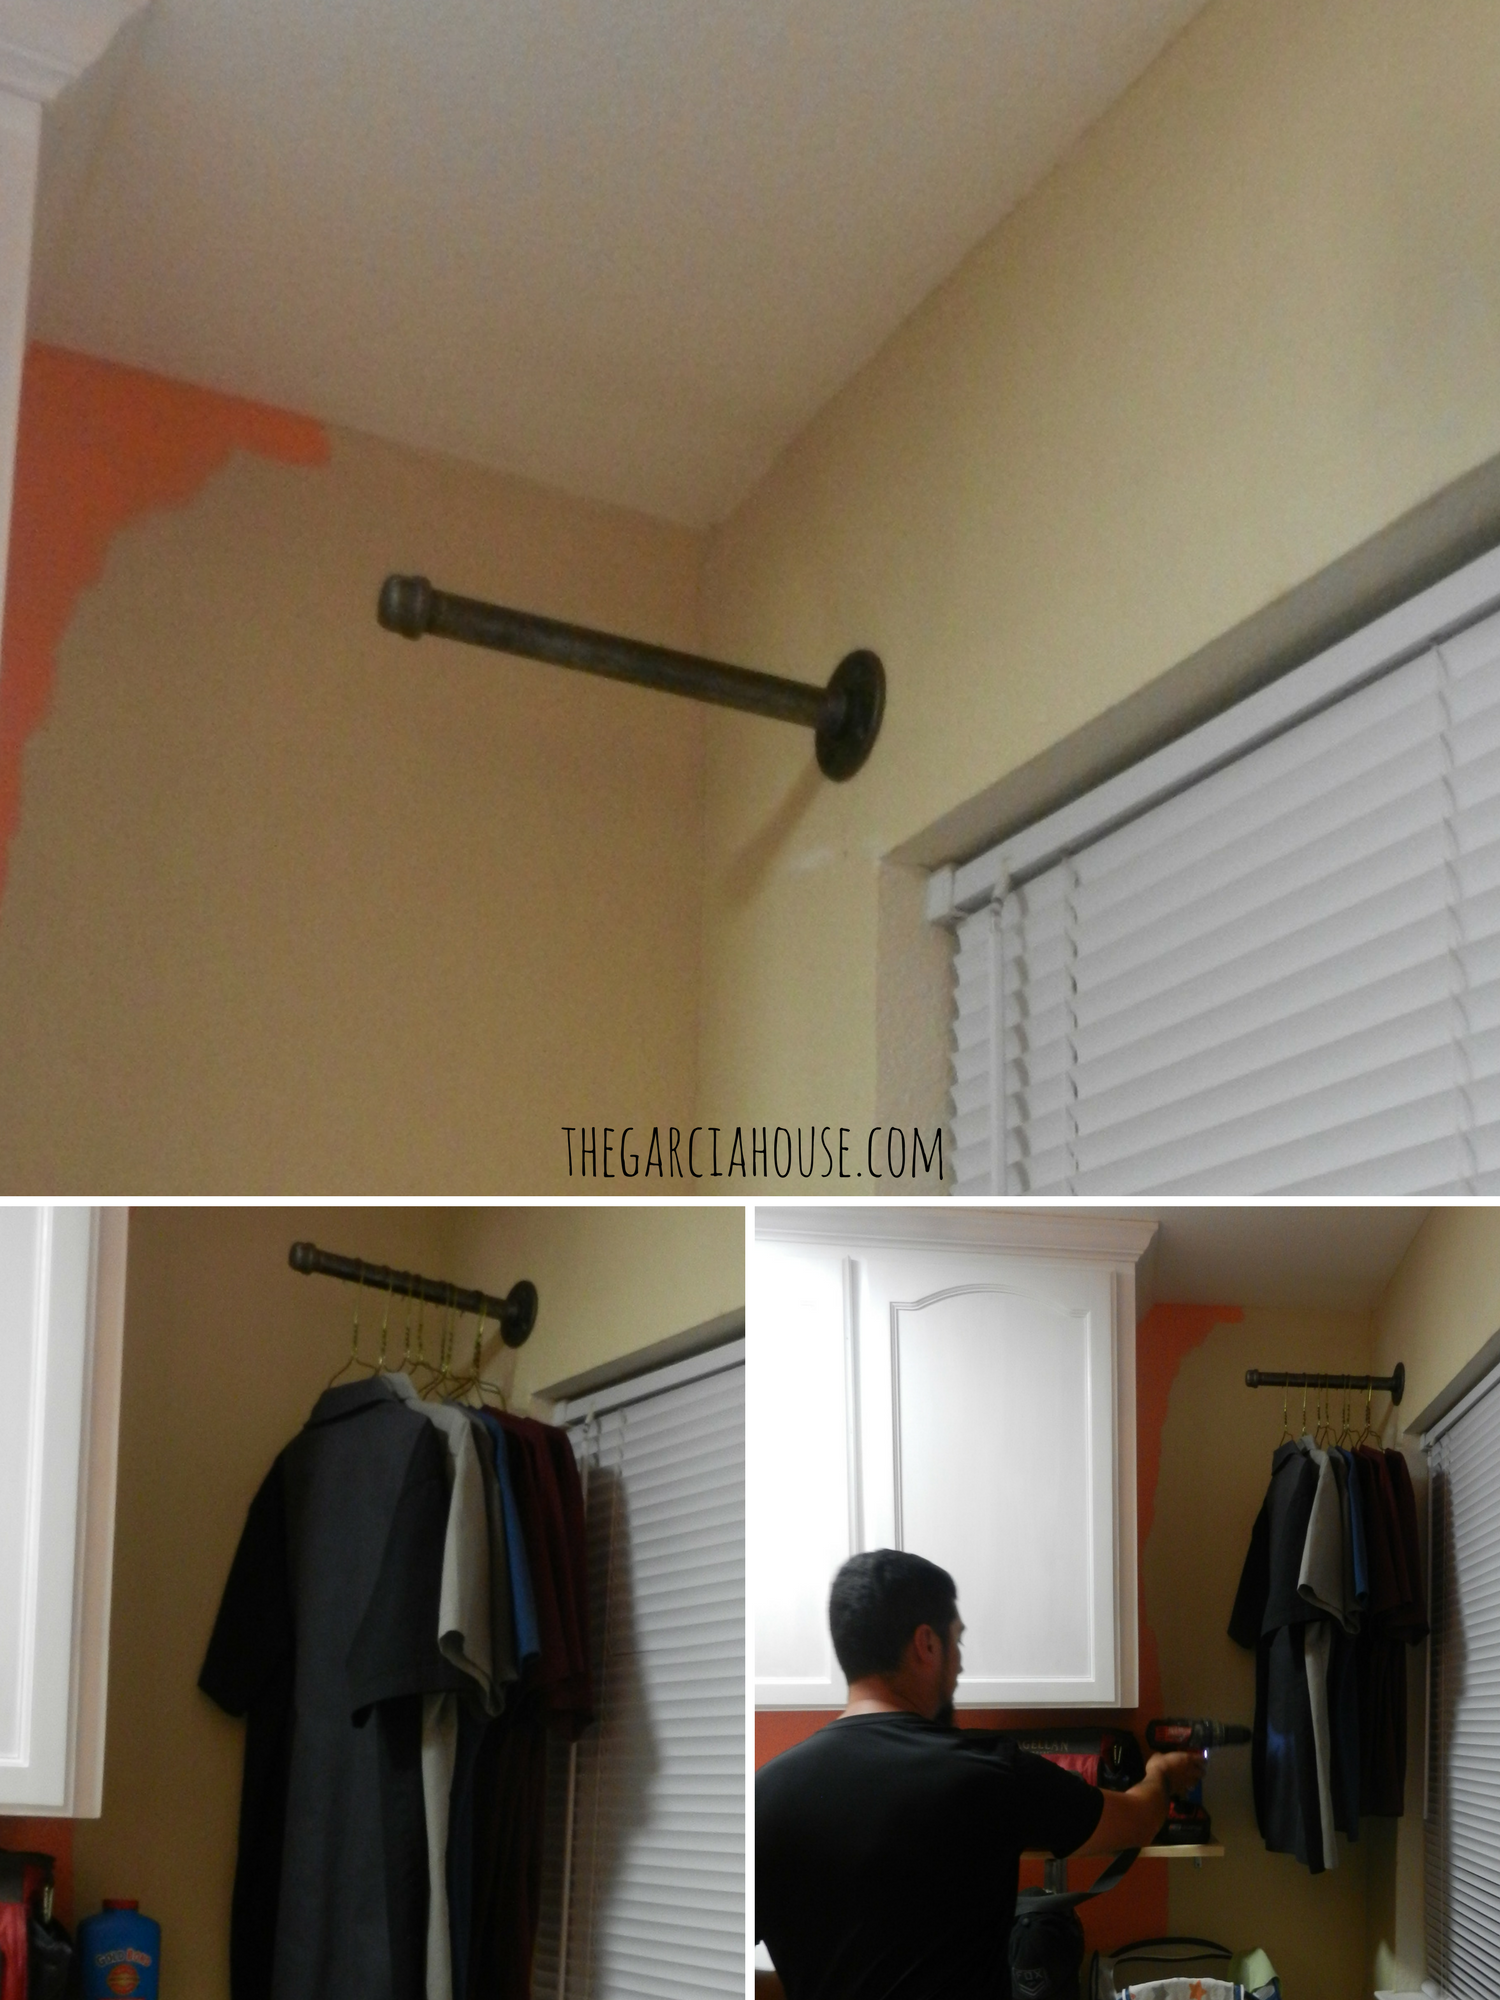 Pretty easy, right? And if you want an industrial look, this definitely fits the bill. Since that's not really what we're going for here, I'll probably end up spray painting it at some point. But for now, I'm super pleased with it.
Since my post on how to clean brass turned out to be super popular (who knew, right?), I've got some more cleaning hacks coming up. Wanna know how to clean your mattress? Restore grout? Make your kitchen sink sprayer-thingie (<--technical term) work like new again? I gotcha covered 😉 If you haven't already, subscribe below to catch all those upcoming posts! Thanks so much for swinging by! Y'all are the best 🙂