We recently took our first mini road trip with Roman to Brownsville to visit family. I had no idea how that would go, but it went surprisingly well! Except that on the way back he got so bored he resorted to eating his own foot…

But now that we’re back in mostly one piece, I wanted to share another project I finished recently with y’all. You can easily make some DIY No Sew Roman Shades in about an hour. I’ll show you how 🙂
 (This post contains affiliate links. For more info. click here!)
This project cost me $4! I already had the mini blind and fabric glue. The fabric was from Jo Ann’s and was on sale plus I had a 20% off coupon.
 Gaslight by Mill Creek
Other supplies you may need:
-Duster or wipes to clean blinds
-Scissors
-Measuring tape
-Screw driver (to mount blinds, if not already mounted)
Let’s get started!
-
Measure the blind and remove it
Find the length of the blind when opened to the full length of the window. Measure the width as well.
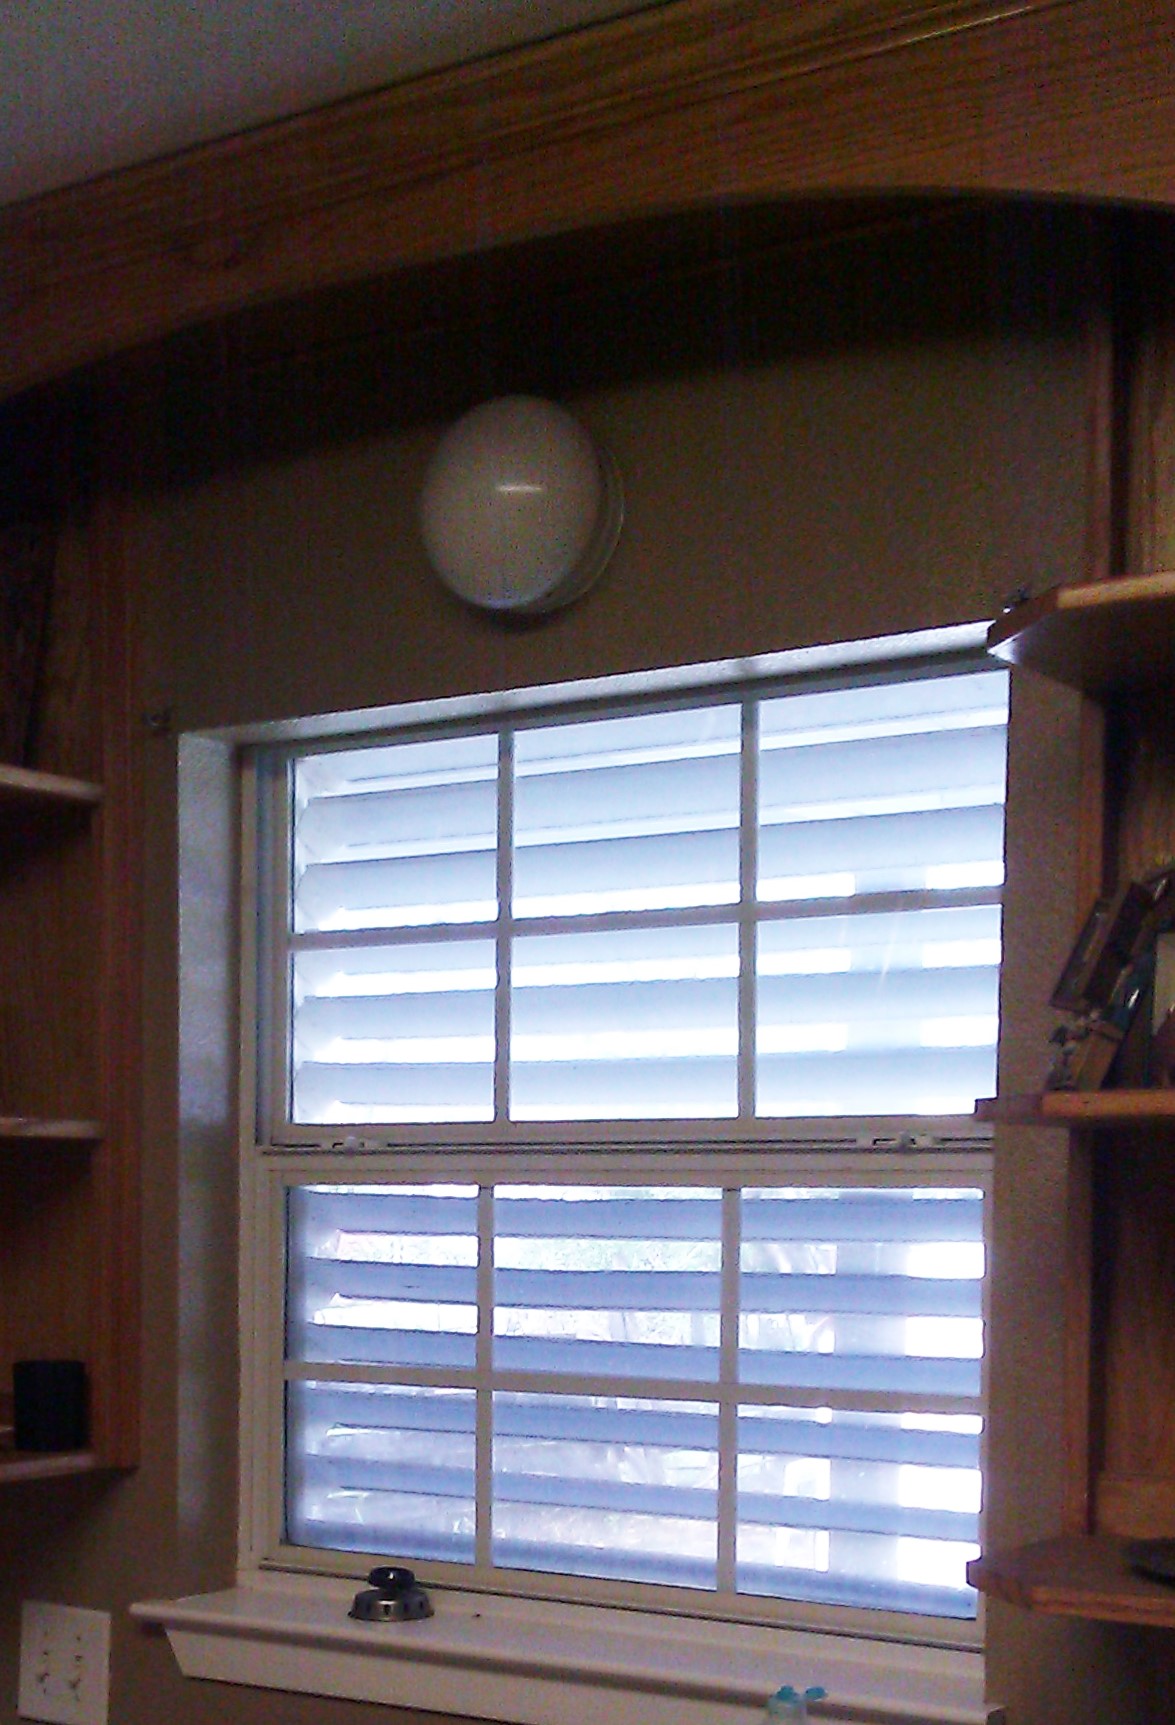 If you’re using a mini blind that was already up, pop it out. Fair warning: I found a spider carcass in the top track. I did not take a picture of that for you guys. You’re welcome *shivers* Don’t worry, we’re gonna clean this thing. It’ll be easier if you do these next steps first (trust me).
-
Purchase fabric, iron it, and glue hems
Take the dimensions you got above and add 2 inches each to the length and width. For example, my square kitchen window measured 33×34. So the fabric I purchased was 35×36.
After you’ve ironed your fabric (it really helps it fold properly when you’re done!), use your fabric glue to create a 1” hem all around your fabric. You can also sew a hem if you’re a sewing genie, but for those of us who are sewing impaired, fabric glue’s gotcho’ back!)
-
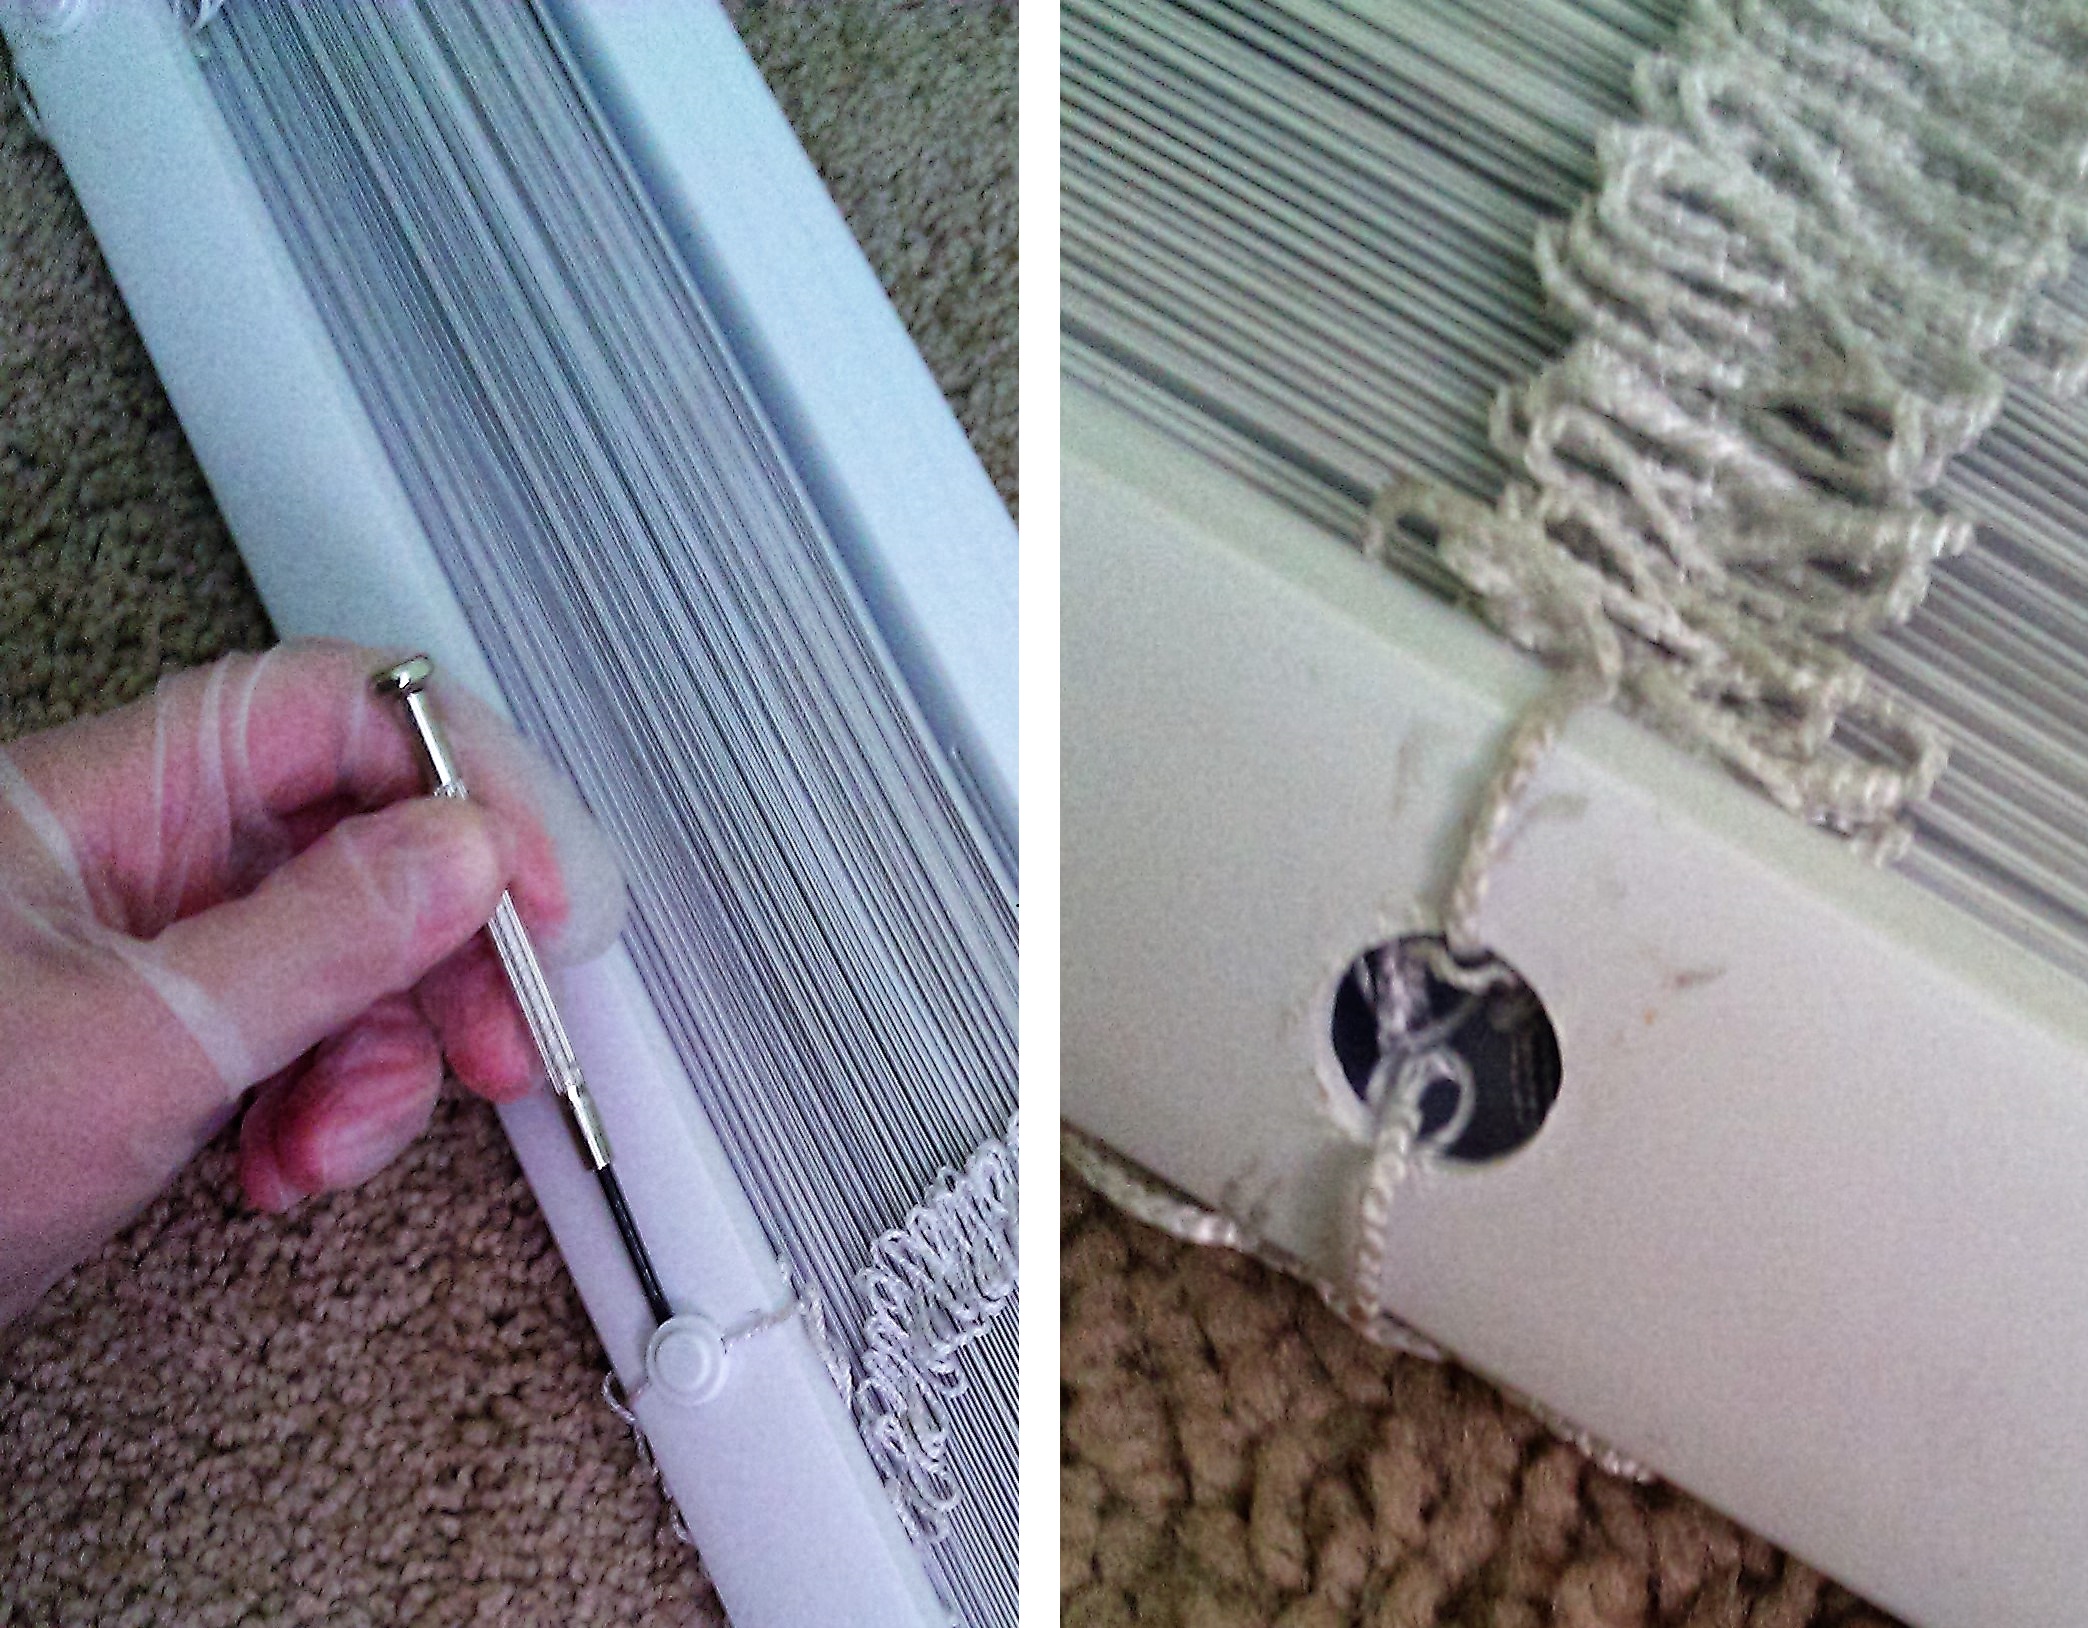
Fully extend blind, remove plugs on bottom bar, remove bar
Extend the blind and remove the “plugs” from the bottom bar. There should be three. I used a flat head screw driver to pop them out. Once removed, you can take the bottom bar off. The cords inside the holes may be knotted. Just untie them and slip the bar off.

-
Cut ladder strings, remove slats
Be very careful to NOT cut the thick cord running through each slat. This is the cord that makes the blinds go up and down, and we need it! Carefully cut through the thin, ladder-like strings and discard them.
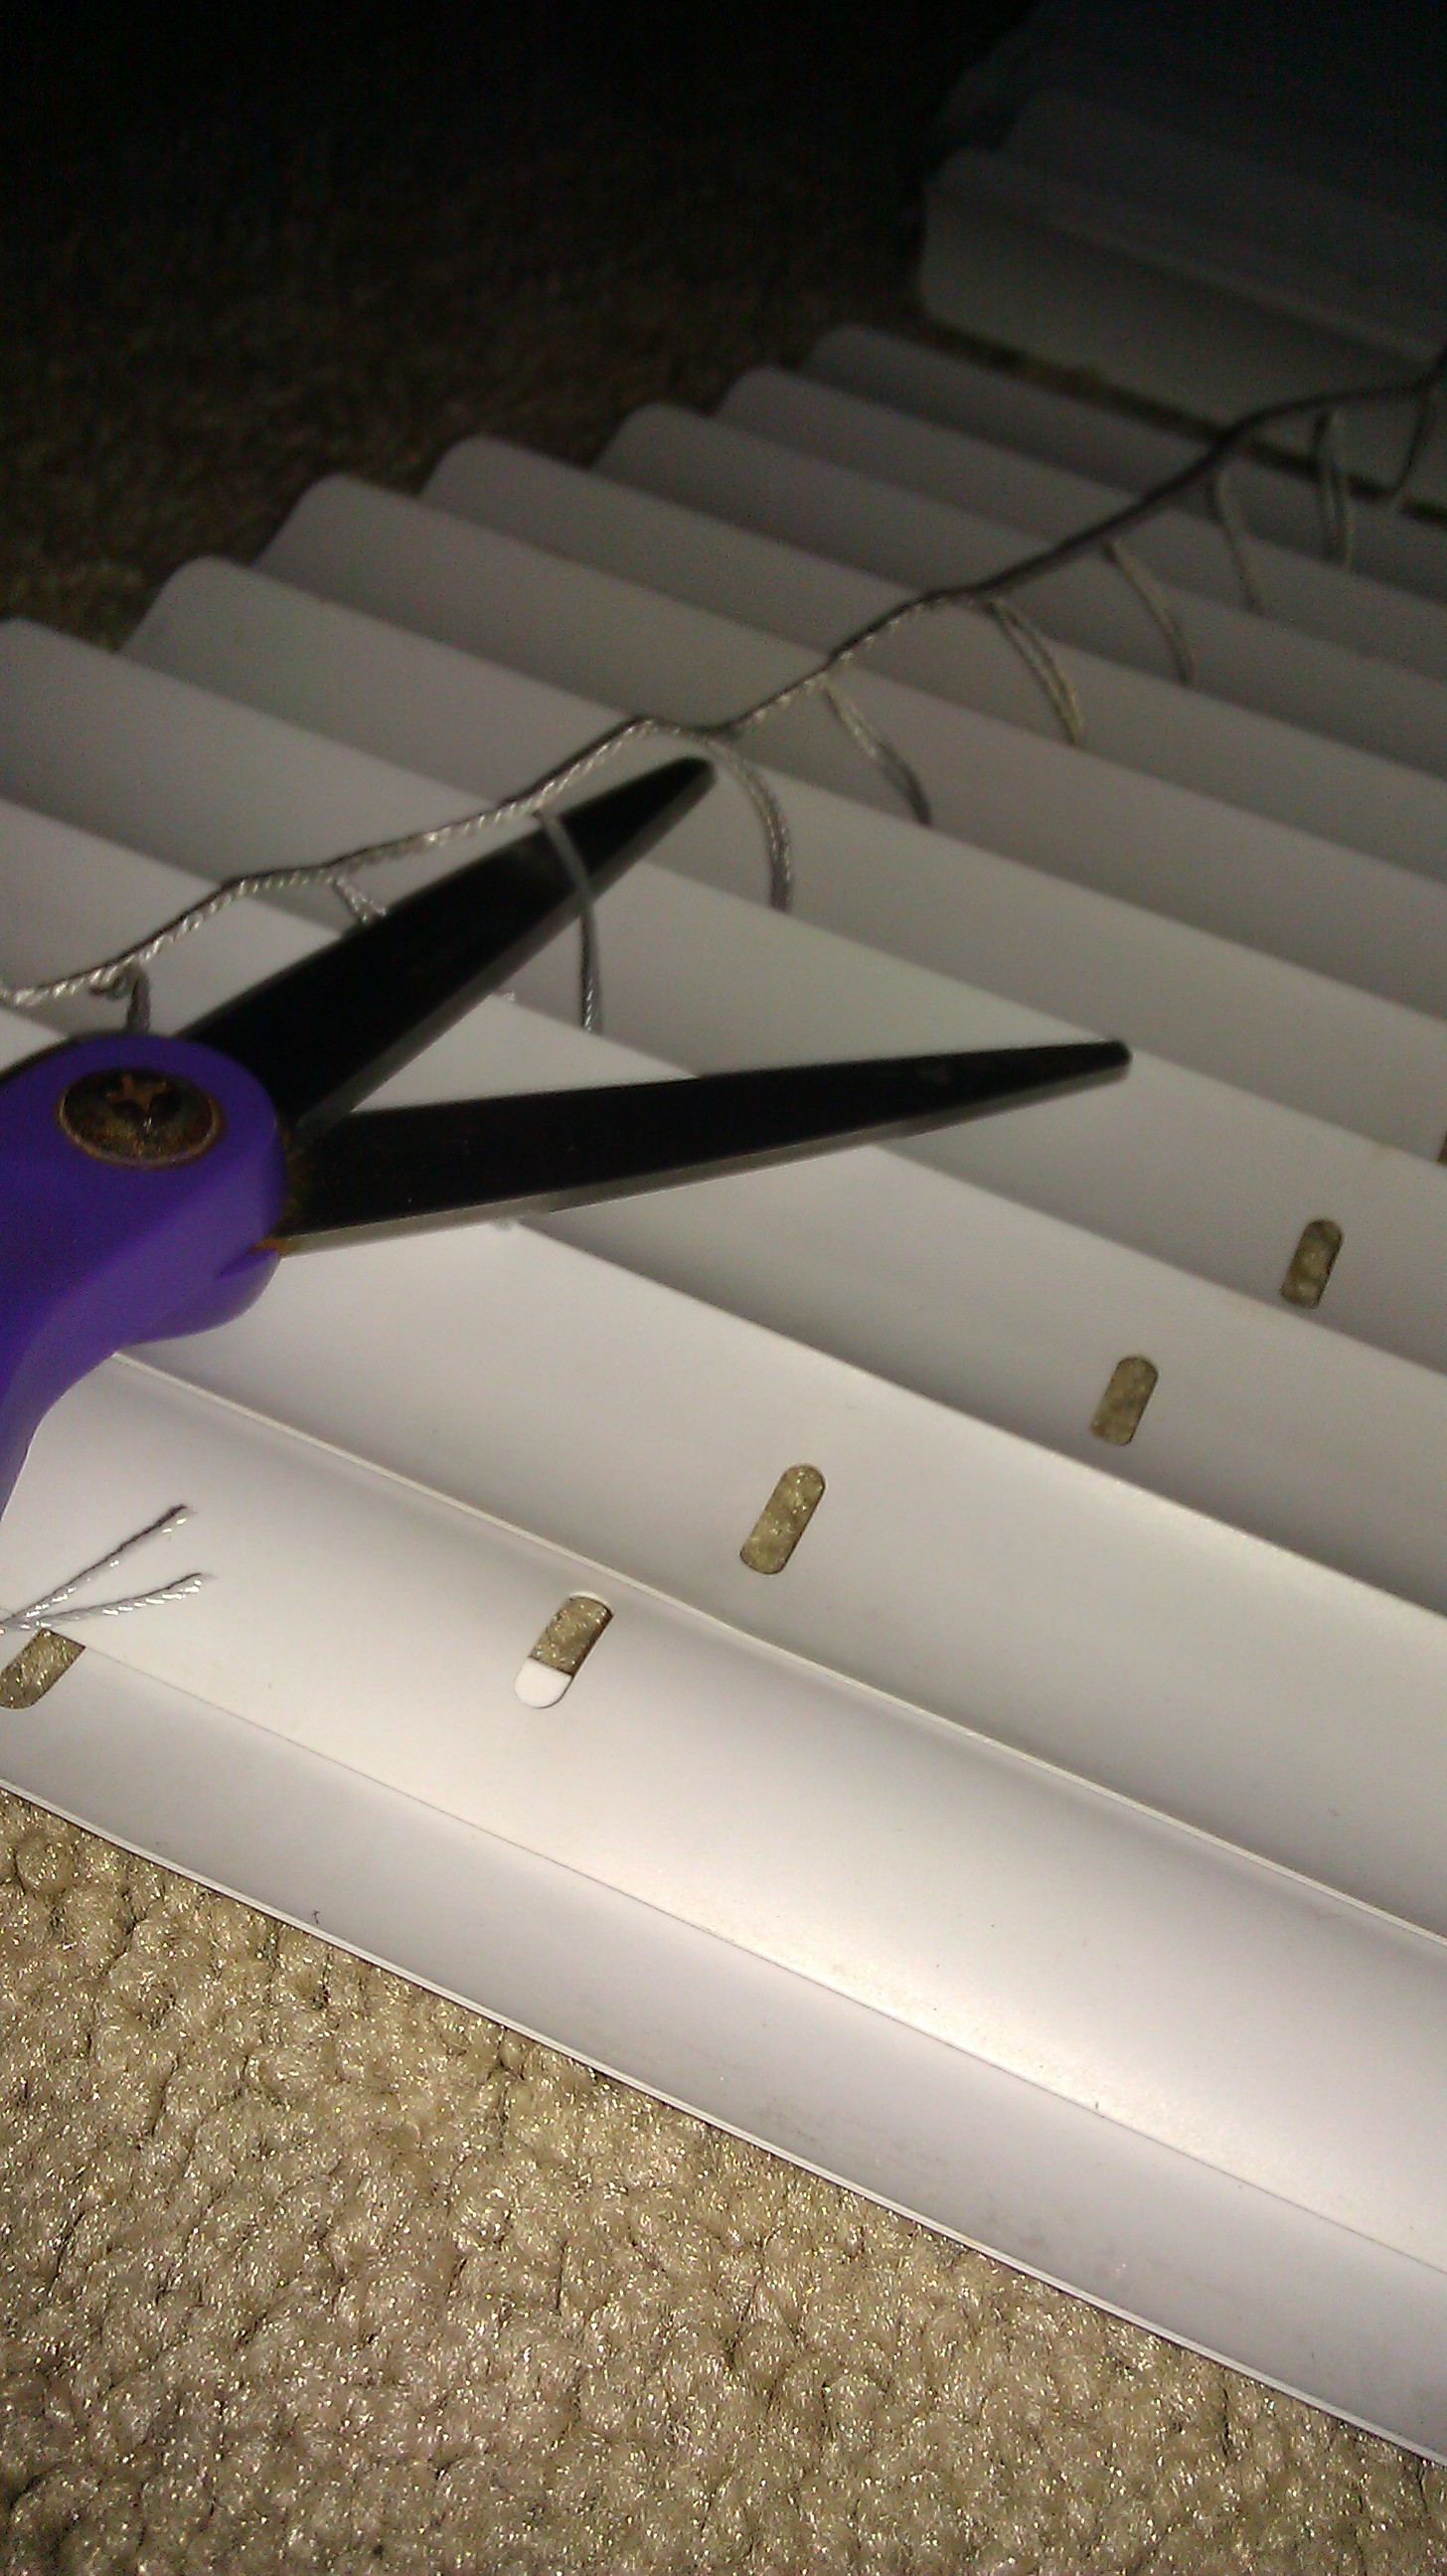 Take nearly all of the slats off. You may want to leave about 10 of them on. You can also discard the rod you twist to open and close the blinds.
-
Clean blind
Time to wipe that thing down! I got the vacuum hose attachment to tackle the top (I’m not touching spider carcasses. No thanks.) and I used disinfectant wipes to clean the top and bottom bar and the 10 remaining slats.
-
Lay fabric out, print side down. Place blinds on top, face down
I spread my fabric out on the floor to have room to work. Place your blind on the fabric lining face-down. This means the pull cords of your blind will be facing down. The slats should be curved (convex) side up.
-
Measure out distance between slats and glue them down
I found that a distance of 8” between the slats looks nice (and folds nicely). If the distance is too short, you might have trouble getting them to fold. Use a measuring tape to evenly space the slats 8” apart starting from the top bar. Keep in mind the bottom bar will serve as the last slat! You may not need all 10. I only needed 4 for my small window.
Apply the fabric glue to the slats. You can use a brush (or your finger) to distribute the glue. Flip the slats over (now curved side down) onto the fabric and run your fingers across them, pressing onto the fabric. Be careful NOT to get glue on the cords running through the slats. This needs to be able to move!

 Glue the top and bottom bars as well. With the top bar, I didn’t glue the outer edges (about an inch on each side) so that I could reinstall them easily.
-
Take the end of the cords and string them through the holes in the bottom bar
Tie a knot in the cord, and pop the button back in.
-
Hang your masterpiece!

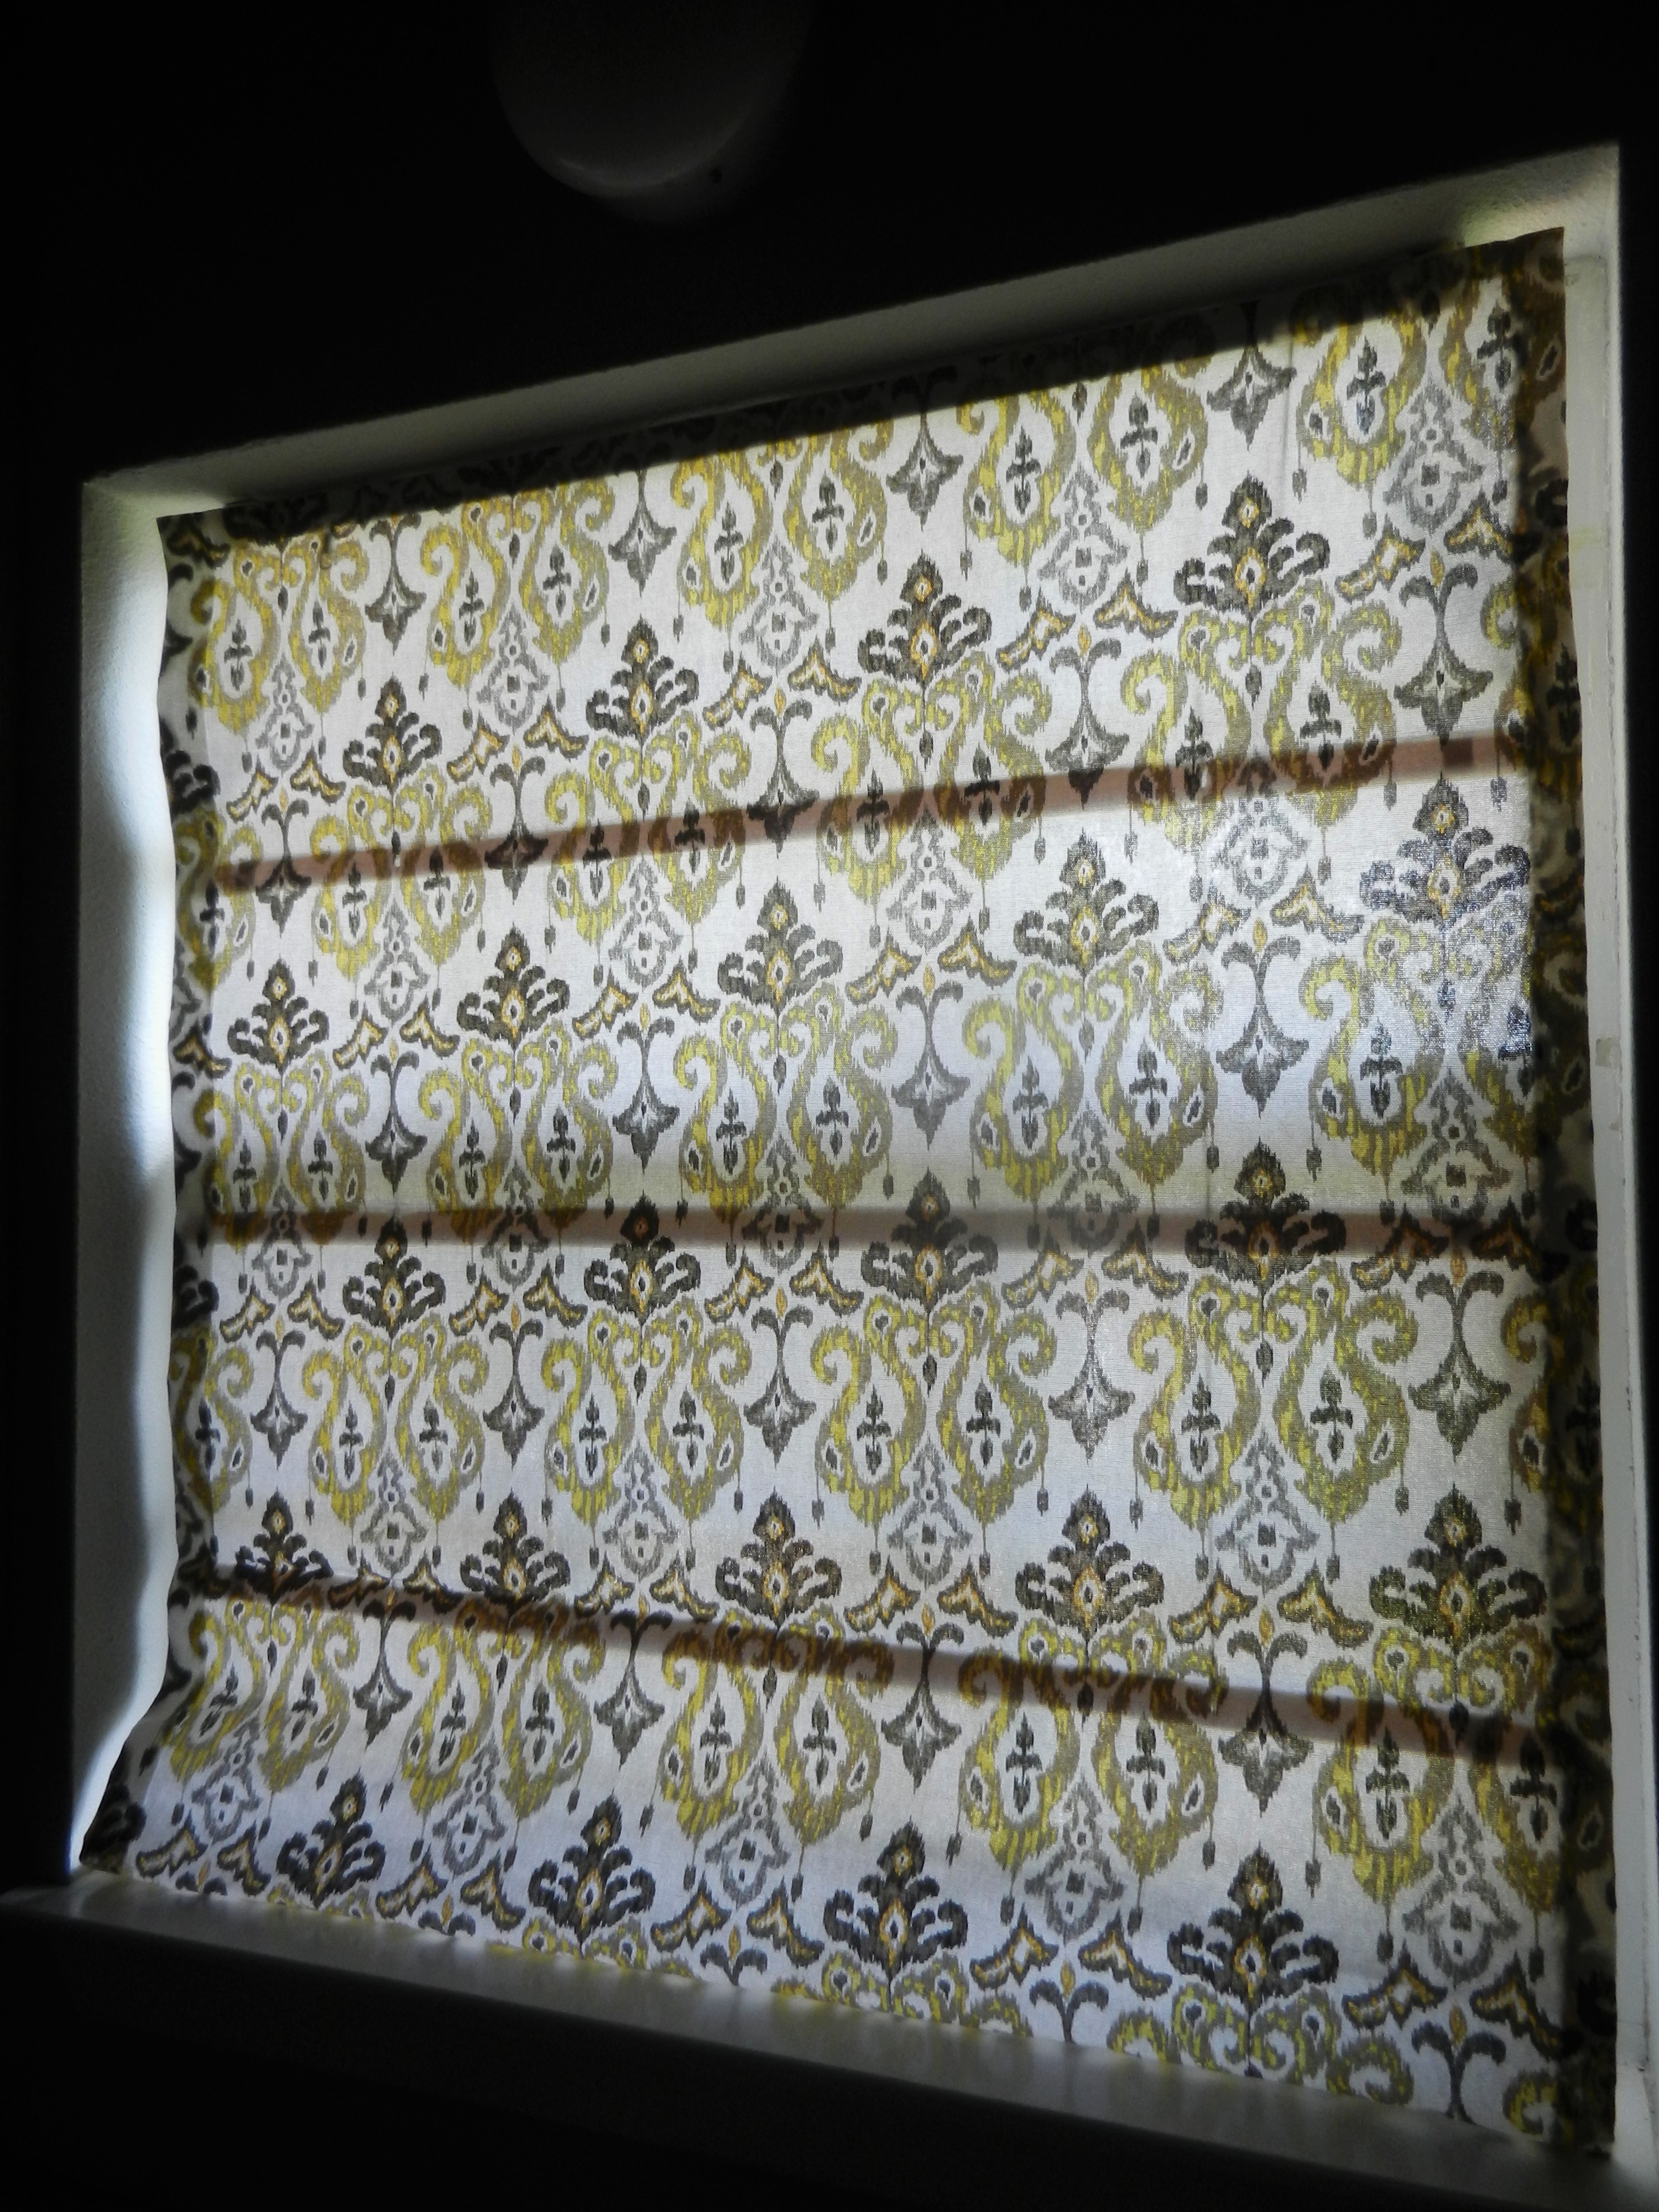
I love the way these turned out! You could line your fabric to block more light if these are intended for a bedroom, but since this is my kitchen window, I definitely wanted something that would still let some light through. At only $4 per blind, this is an amazing deal considering custom roman shades cost like a bajillion dollars. I hope you enjoyed this tutorial!