When you think of glamorous rooms, the laundry room probably isn’t the first thing that comes to mind for most of us. And for good reason. Ain’t nothin’ glamorous about two (or three) baskets full of clothes piled all over the place. Unless you consider it abstract expressionism. In that case, call me Pollock 😉
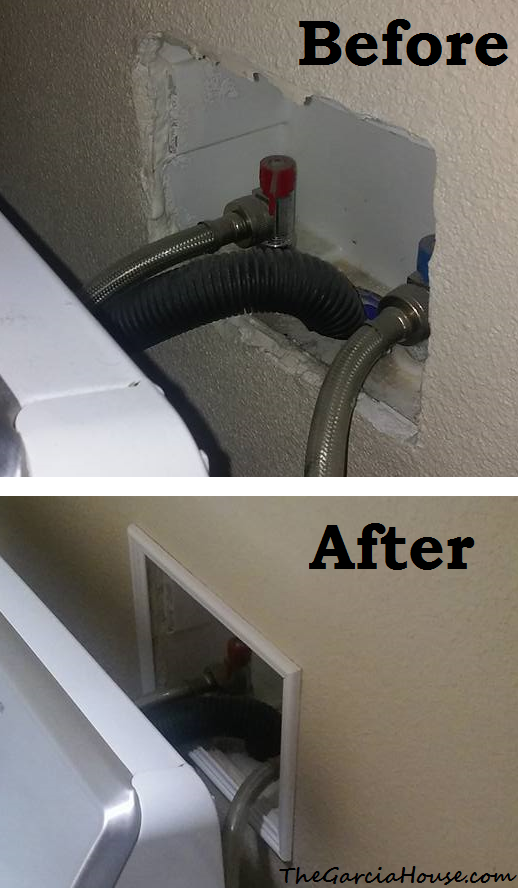
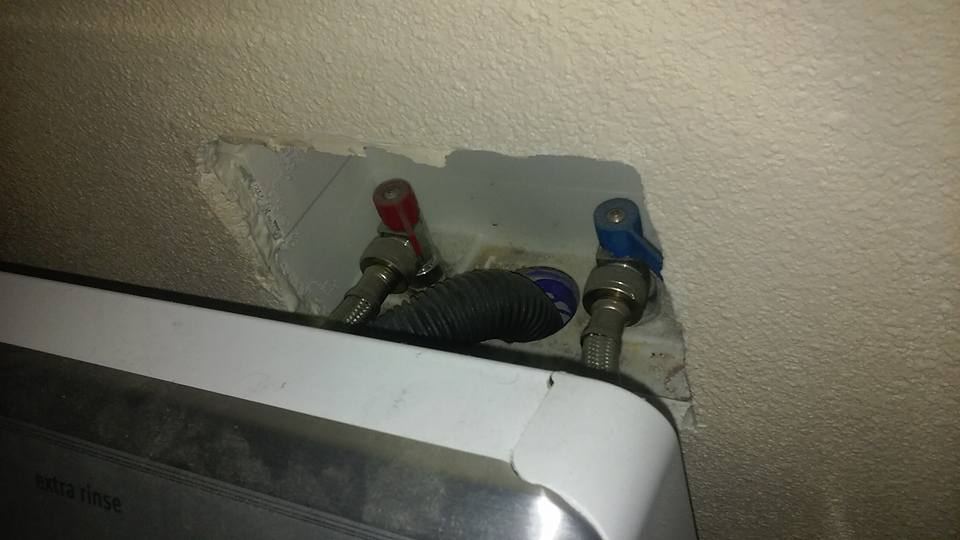
Anywho…it can also be not-so-easy on the eyes because, as a utility room, it’s sometimes missing finishing touches. In my laundry room, for example, the laundry hose box was just plopped into the wall with the raw drywall edges left exposed.
Whoever built this room was definitely not obsessive compulsive because I could have NEVER left it this way. It bugged the crap out of me. So I fixed it with a DIY laundry hose box frame 🙂

[This post contains affiliate links. If you choose to purchase the materials I used using the links, I receive a small commission that helps keep the blog going! Thanks!]
- -Decorative wooden trim (usually between $4-$8 per piece at Lowes or Home Depot)
- –Miter Box with Saw
- –Liquid Nails
- –Wood Glue
- –Sanding Sponge
or sand paper
- -Measuring tape
- -Paint (or stain)
Step 1.
Measure the length and width.
Step 2.
Using the miter saw, cut your pieces with 45 degree angles. Double check that your wood pieces are oriented correctly for each cut (meaning the angles will join so that the top of the trim is on the outside of your frame, and the bottom/slimmer part of the trim is on the inside of the frame). Sand the cut sides smooth.
Step 3.
Wood glue the pieces together–if you DON’T want to take the hoses off to put the frame on, only glue two L shapes (a length + a width). DO NOT glue the whole thing together yet.
Step 4.
Paint (or stain) the frame.
Step 5.
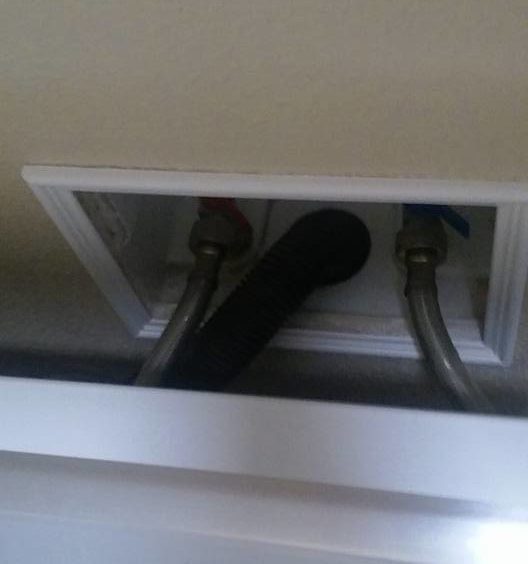
Put some wood glue on the ends of the two L pieces. Apply liquid nails on the back of the frame to glue the two pieces onto the wall while pressing the wood glued ends together to form a nice frame. Doing it this way allows you to slip the two pieces around the connections without removing them. That’s it!
Doesn’t it look so much better trimmed out? I love it. I chose a simple trim style, but you could choose any style to fit your space.
Be sure to save all the extra trim that’s left over. I have another project for that coming next on the blog! 😉
Plus, I’m working on a recipe index for mamas out there who have to be on strict dairy/soy free diets for their babies (but of course, anyone can make them! I’m only going to include things that are delicious!) AND I’m trying to get my first room tour ready: Roman’s nursery. The rest of the house tour will be coming up, too. That’s been a tough one for me because we’re in the middle of so many updates, and I want you guys to see the finished product(s). But you know, I think it’s more genuine to post “right now” pictures. Because life isn’t always finished and perfect with nice lighting. At least not my life. Ha!
Until then, y’all have a great weekend!


